

Wuliaojian
Hiking Guide

The route I prefer to take. I reverse the official trail direction normally.
Wuliaojian is one of the most challenging hikes in the New Taipei I have completed. For this reason I would recommend anyone thinking about trying it out, be well prepared! I'm talking solid hiking shoes, poles if are handy if you have any, and a light waterproof jacket if you can fit it in your bag. It's a very rewarding hike but compared to the other hikes I have covered recently, it is fairly vertical up and down. The trail itself is easy to spot, that said 80% of it is mud, rocks and clambering over the odd fallen tree and some small streams.
Getting there is even more of a pain if you are relying on public transport. There is a bus that goes there from old Sanxia, but I've yet to catch or let alone see it. Being the slightly impatience person I am sometimes, instead of waiting around in the heat of the Taiwanese summer isn't for me, so I caught taxi to the trail head both times I have hiked here. Coming back is also hit or miss. The first time I came here, I caught the bus back which stops right by the trail entrance. The second time though, I must have missed the last bus and had to trek back halfway to Sanxia until I managed to spot a taxi. If you have your own mode of transport this is preferable to hike this area for sure!
I would consider this an upper intermediate / advanced hike for sure! Having a good level of fitness is pretty important here. There are a lot of steep sections. ropes to climb and very tricky ridge sections to climb back down. That said, the high difficulty factor rewards the intrepid hikers who get to the top with breathtaking views of the valley and larger mountain ranges all around!
I always prefer to hike this route the opposite way as suggested on the trail head, It means you get the steep part out of the way early and it makes the decent much easier. I start out by hiking up the road just before all the way up to the end. There is a small opening at the end of the road where the trail then starts and moves into the forest.


the trail heading into the forest and up to the peak. f4.5, ISO, 1600, 1/25, 24mm

a mass fallen of bamboo logs to clamber under. f4.5. ISO 1600, 1/30, 24mm
Eventually after a pretty steep ascent up the mountain through forest, the trail opens up into a T junction. At this point you can go left to the main peak or right. Being the curious soul that I am, I decided to explore the right path first before heading left, as I already knew where that would take me. I was pleasantly surprised to find that after a short climb up one or two hanging ropes, the trail opened up to a lovely little view of the two main peaks of Wuliaojian. The trail stretches off further up the opposite mountain, but seeing as it was already fairly far from where I was originally headed I took some panoramic pictures and heading back to the ridge line.

The main ridge and secondary peak of Wuliaojian to the left. f18, ISO 800, 1/80, 24mm (stitched)

Another view from the right path. f18, ISO 320, 1/80, 38mm
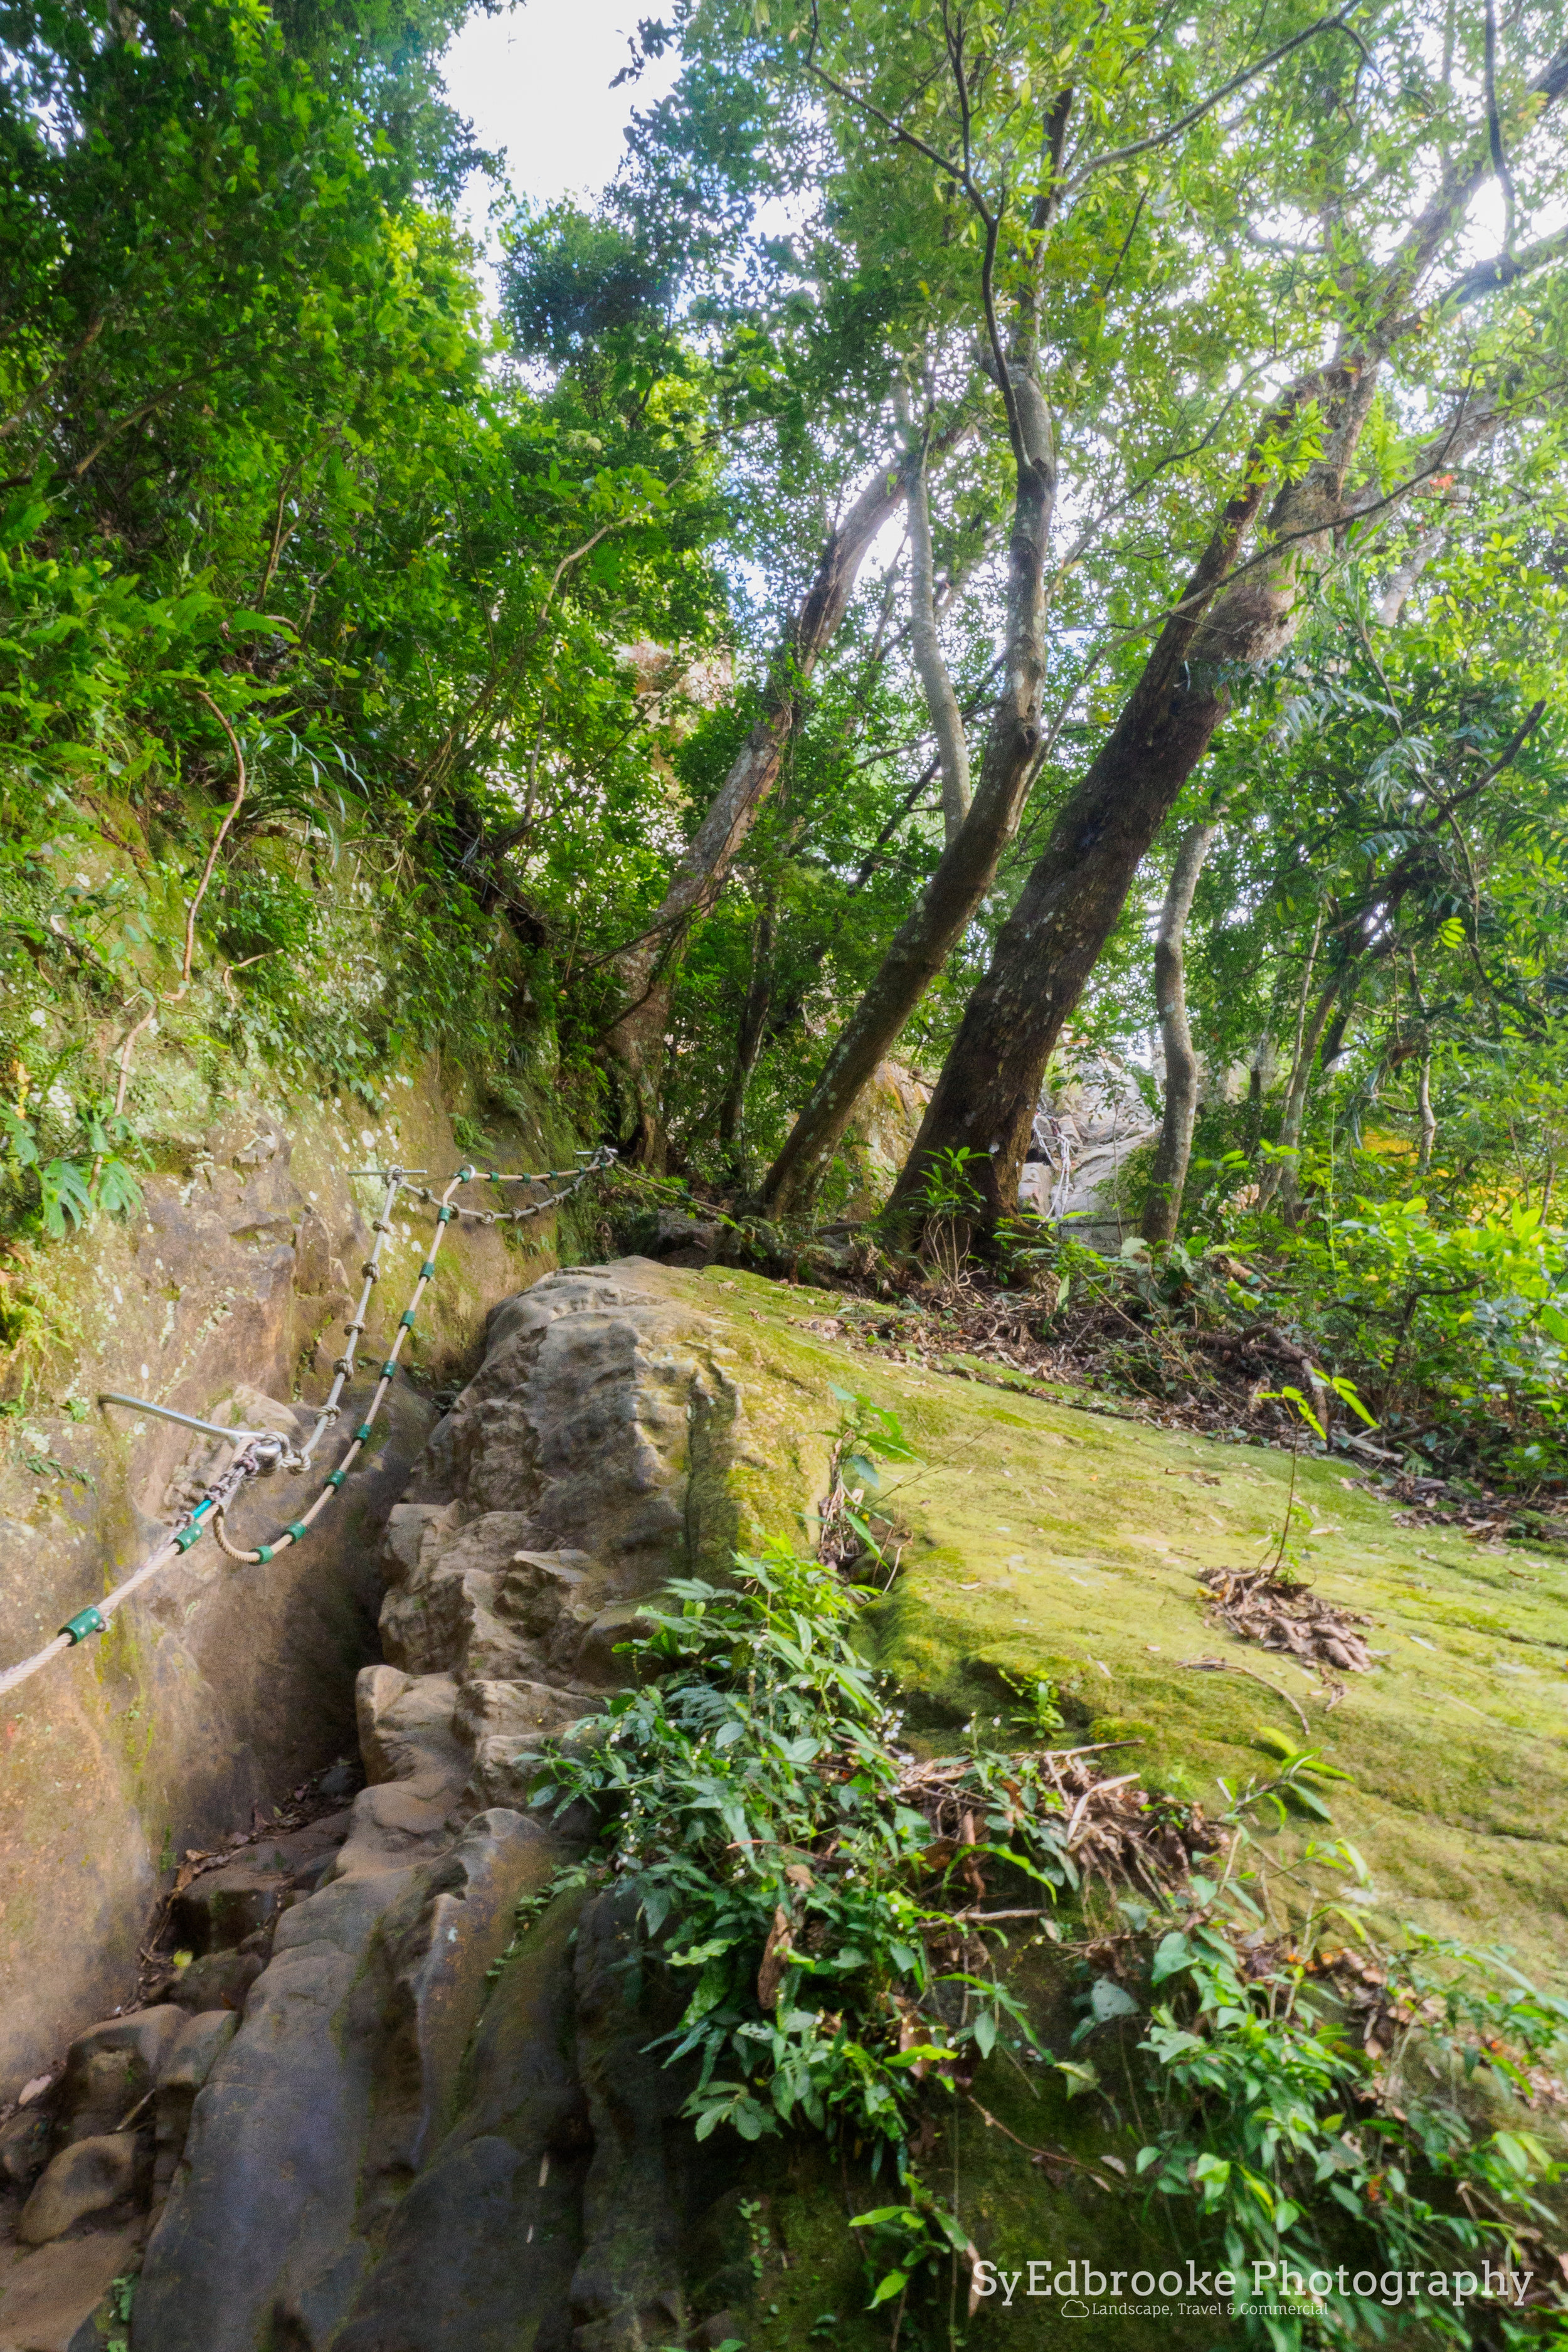
From this mini junction onwards there are several long rope climbs you'll need to get through to get the main ridge line. It helps to have fairly decent fitness for this section of the hike, it isn't a place you want to slip or fall. Saying that reminds me of a super important note of caution, DO NOT DO THIS HIKE IF IT IS HAS RAINED LATELY OR IS STILL VERY DAMP! There are many different sections to this trek that have steep drop offs. Any falls here would lead to an unfortunate end. It's not the tallest mountain in Taiwan, although it is long drops either side of the trail for large sections.
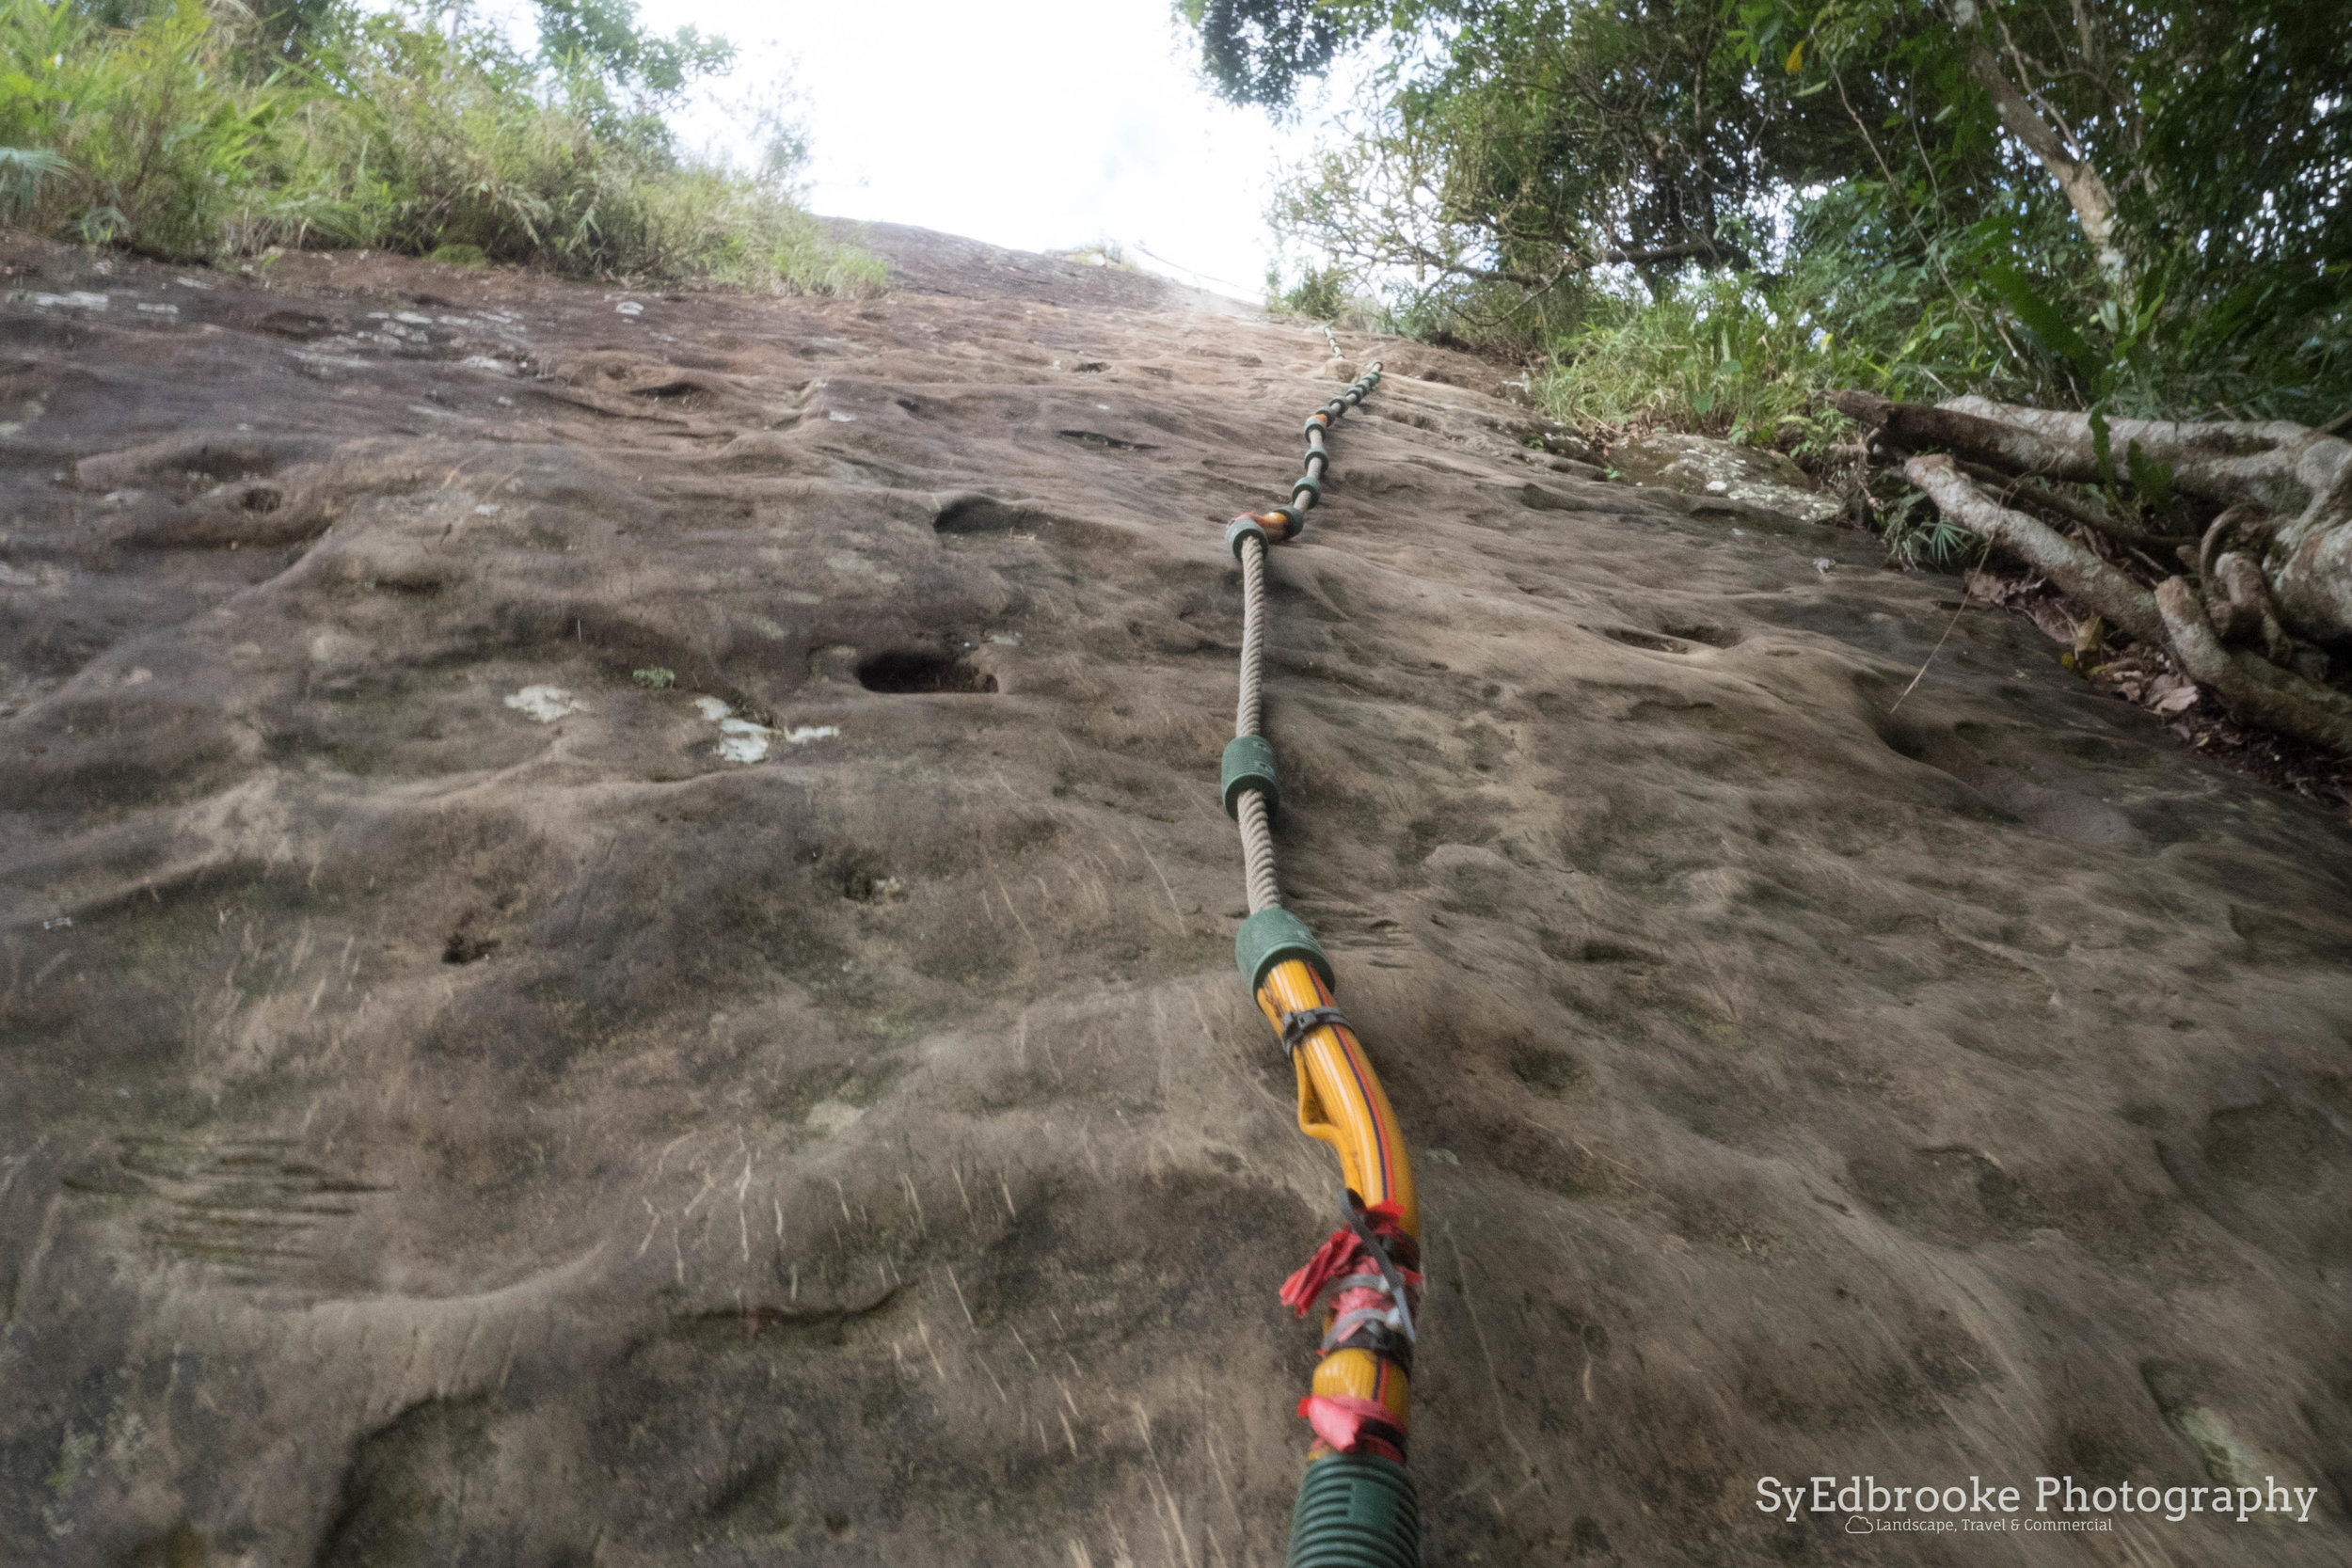
After you make it up the different rope climbs, the trail leads to the side of the ridge. From here there is a long rope that is the only way up or down. Depending on the day you go it might be fairly busy on the ridge, which will mean a bit of a wait either on the ridge to come down, or on the side to climb up. Both times I have been here it's been fairly quiet though, so I don't know if that's just me being lucky or this is a less populated hike compared to somewhere like YangMingShan.
I have seen fairly elderly hikers here completing all parts of the hike, so it is by no means impossible, but it is certainly not as easy as somewhere like Elephant mountain near 101.

A view of the mini secondary peak right from the main ridge. f22, ISO 500, 1/80, 24mm
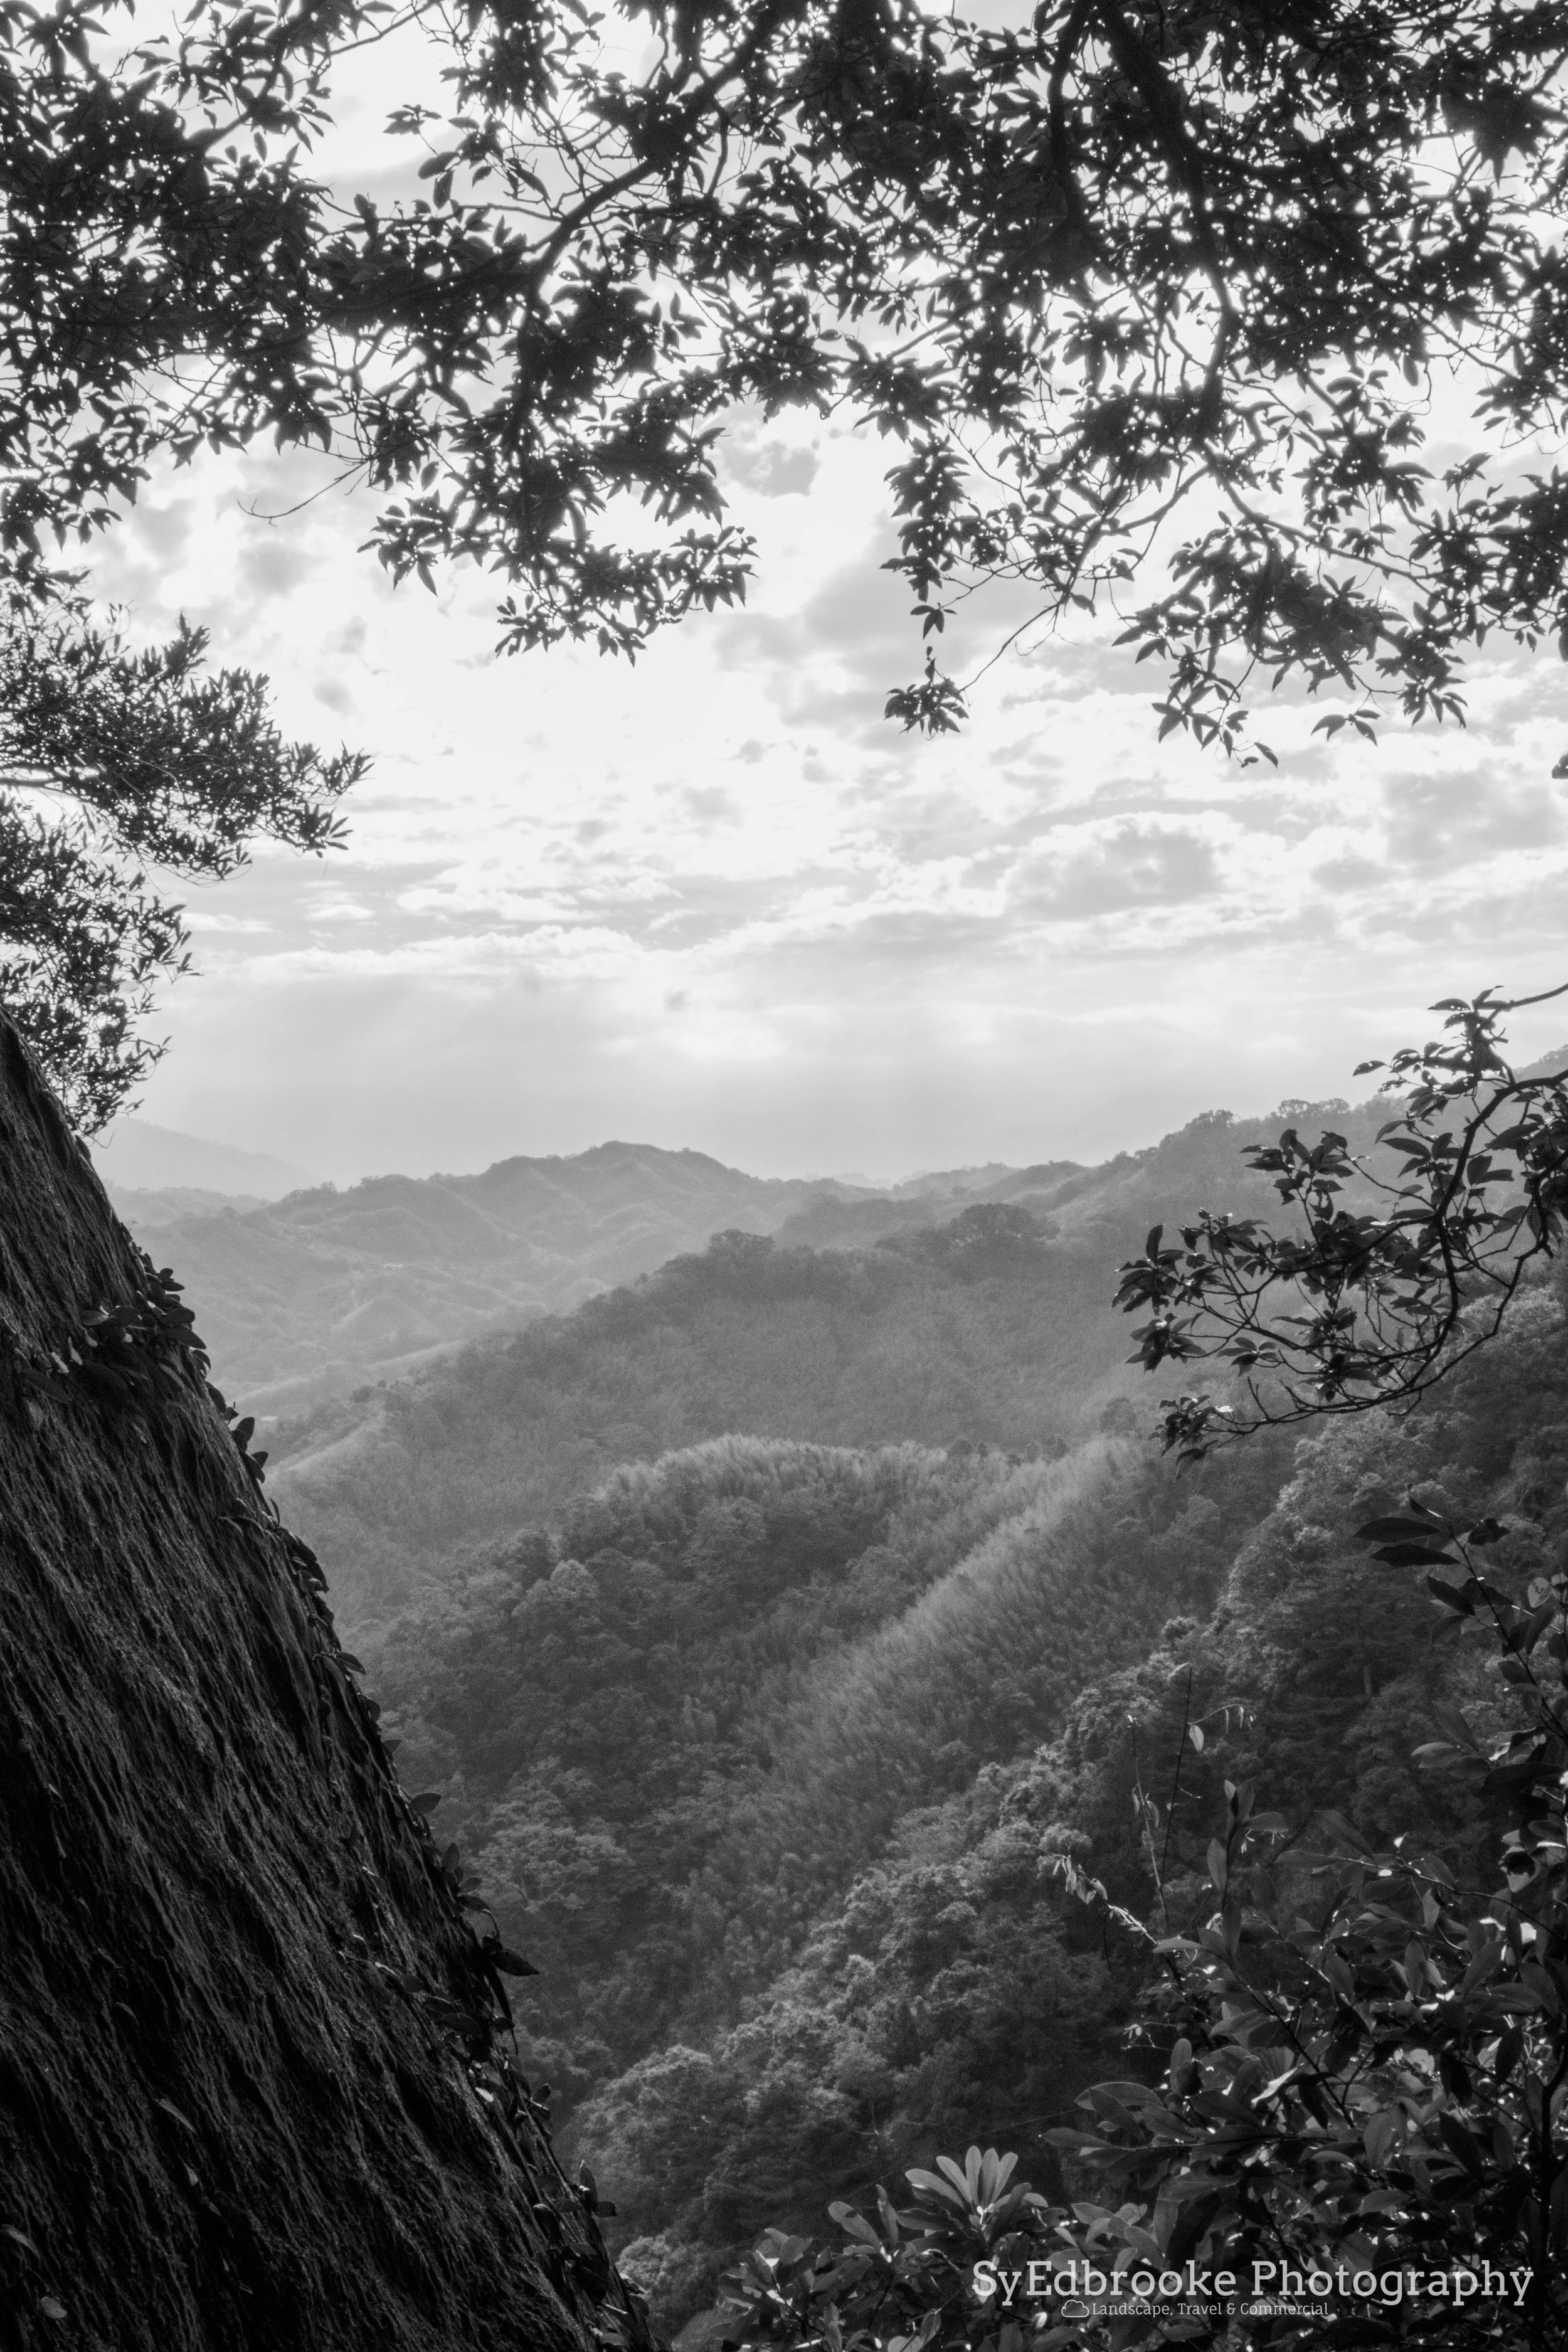
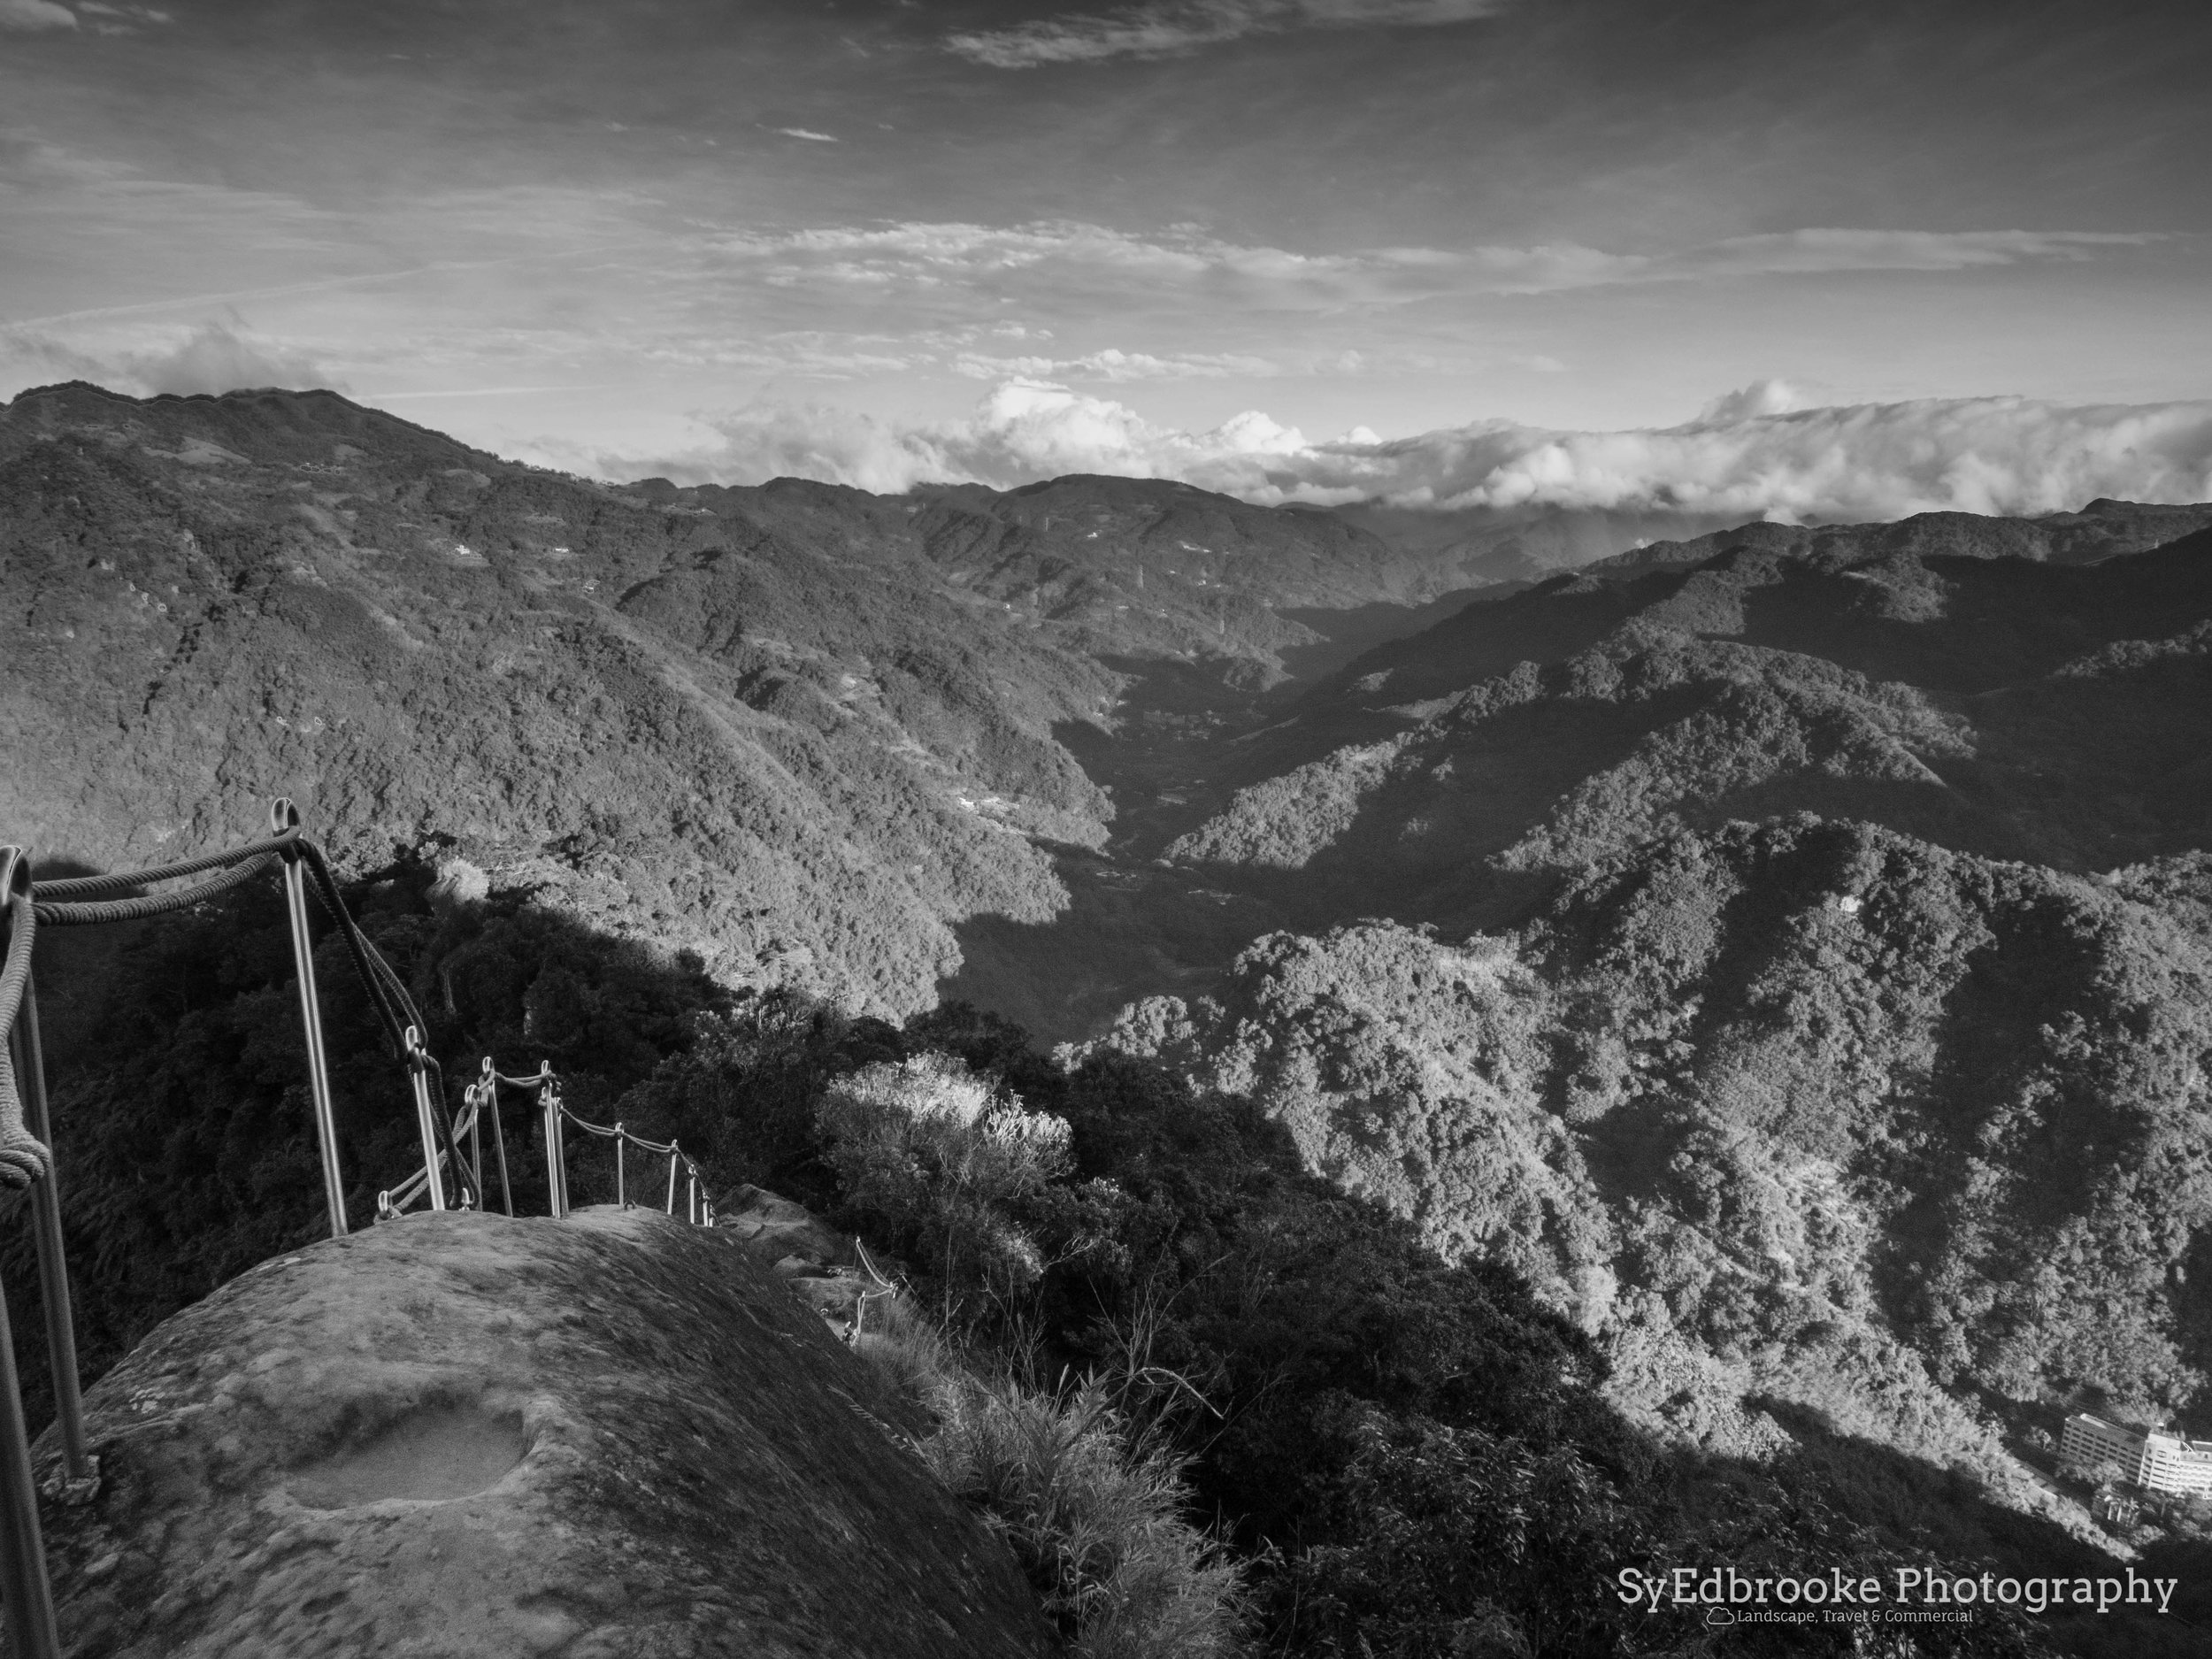
The ridge itself lends itself very nicely to some great views and panoramic views of the valley beneath the mountain. It's fairly exposed on the ridge, so on a sunny day bring long sleeves and plenty of sunscreen if you want avoid getting badly sun burnt. There are some really nice shallow depth of field compositions that you can find all along the ridge line, along with the traditional wide angle shots. If you fancy being a little more adventurous, instead of climbing up the main ridge, you can follow the trail straight ahead and climb the secondary peak featured in the panoramic shot featured above.
I found a traditional Chinese chess set up there and what looked like a board carved into the rock. Obviously someone hangs out there enough to leave their things there all week long! A nice backdrop for any board game at any rate.

The checkers set I spotted on the ridge peak.

On the edge of the main hike, after climbing up. f22, ISO 1000, 1/80, 24mm

I shot this with my 75mm prime lens, The cloud and mist caught my eye. f4.5, ISO 200, 1/1600, 75mm
hanging out!
Once you had had your fill of the views from the edge of the main ridge, start walking left along the path keeping hold of the rope. The path leads up and down the various dips and rises of the natural terrain, There are quite a few rope ladders you'll have to navigate on the way down. There are some interesting little outcrops and natural hollows in the mountain side that offer some unique pictures.
The way down is a lot easier compared the the climb up I think, it reminded me of when being a kid running around the local woods making bows and arrows and swinging off branches! The outdoors was a big part of my growing up in England and New Zealand so I really enjoy getting out into the wild outdoors on these types of hikes. There's normally only space enough for one person to pass, so if it is busy, you might need to wait around bit for the various groups of hikers to pass by in order to carry on down the trail.
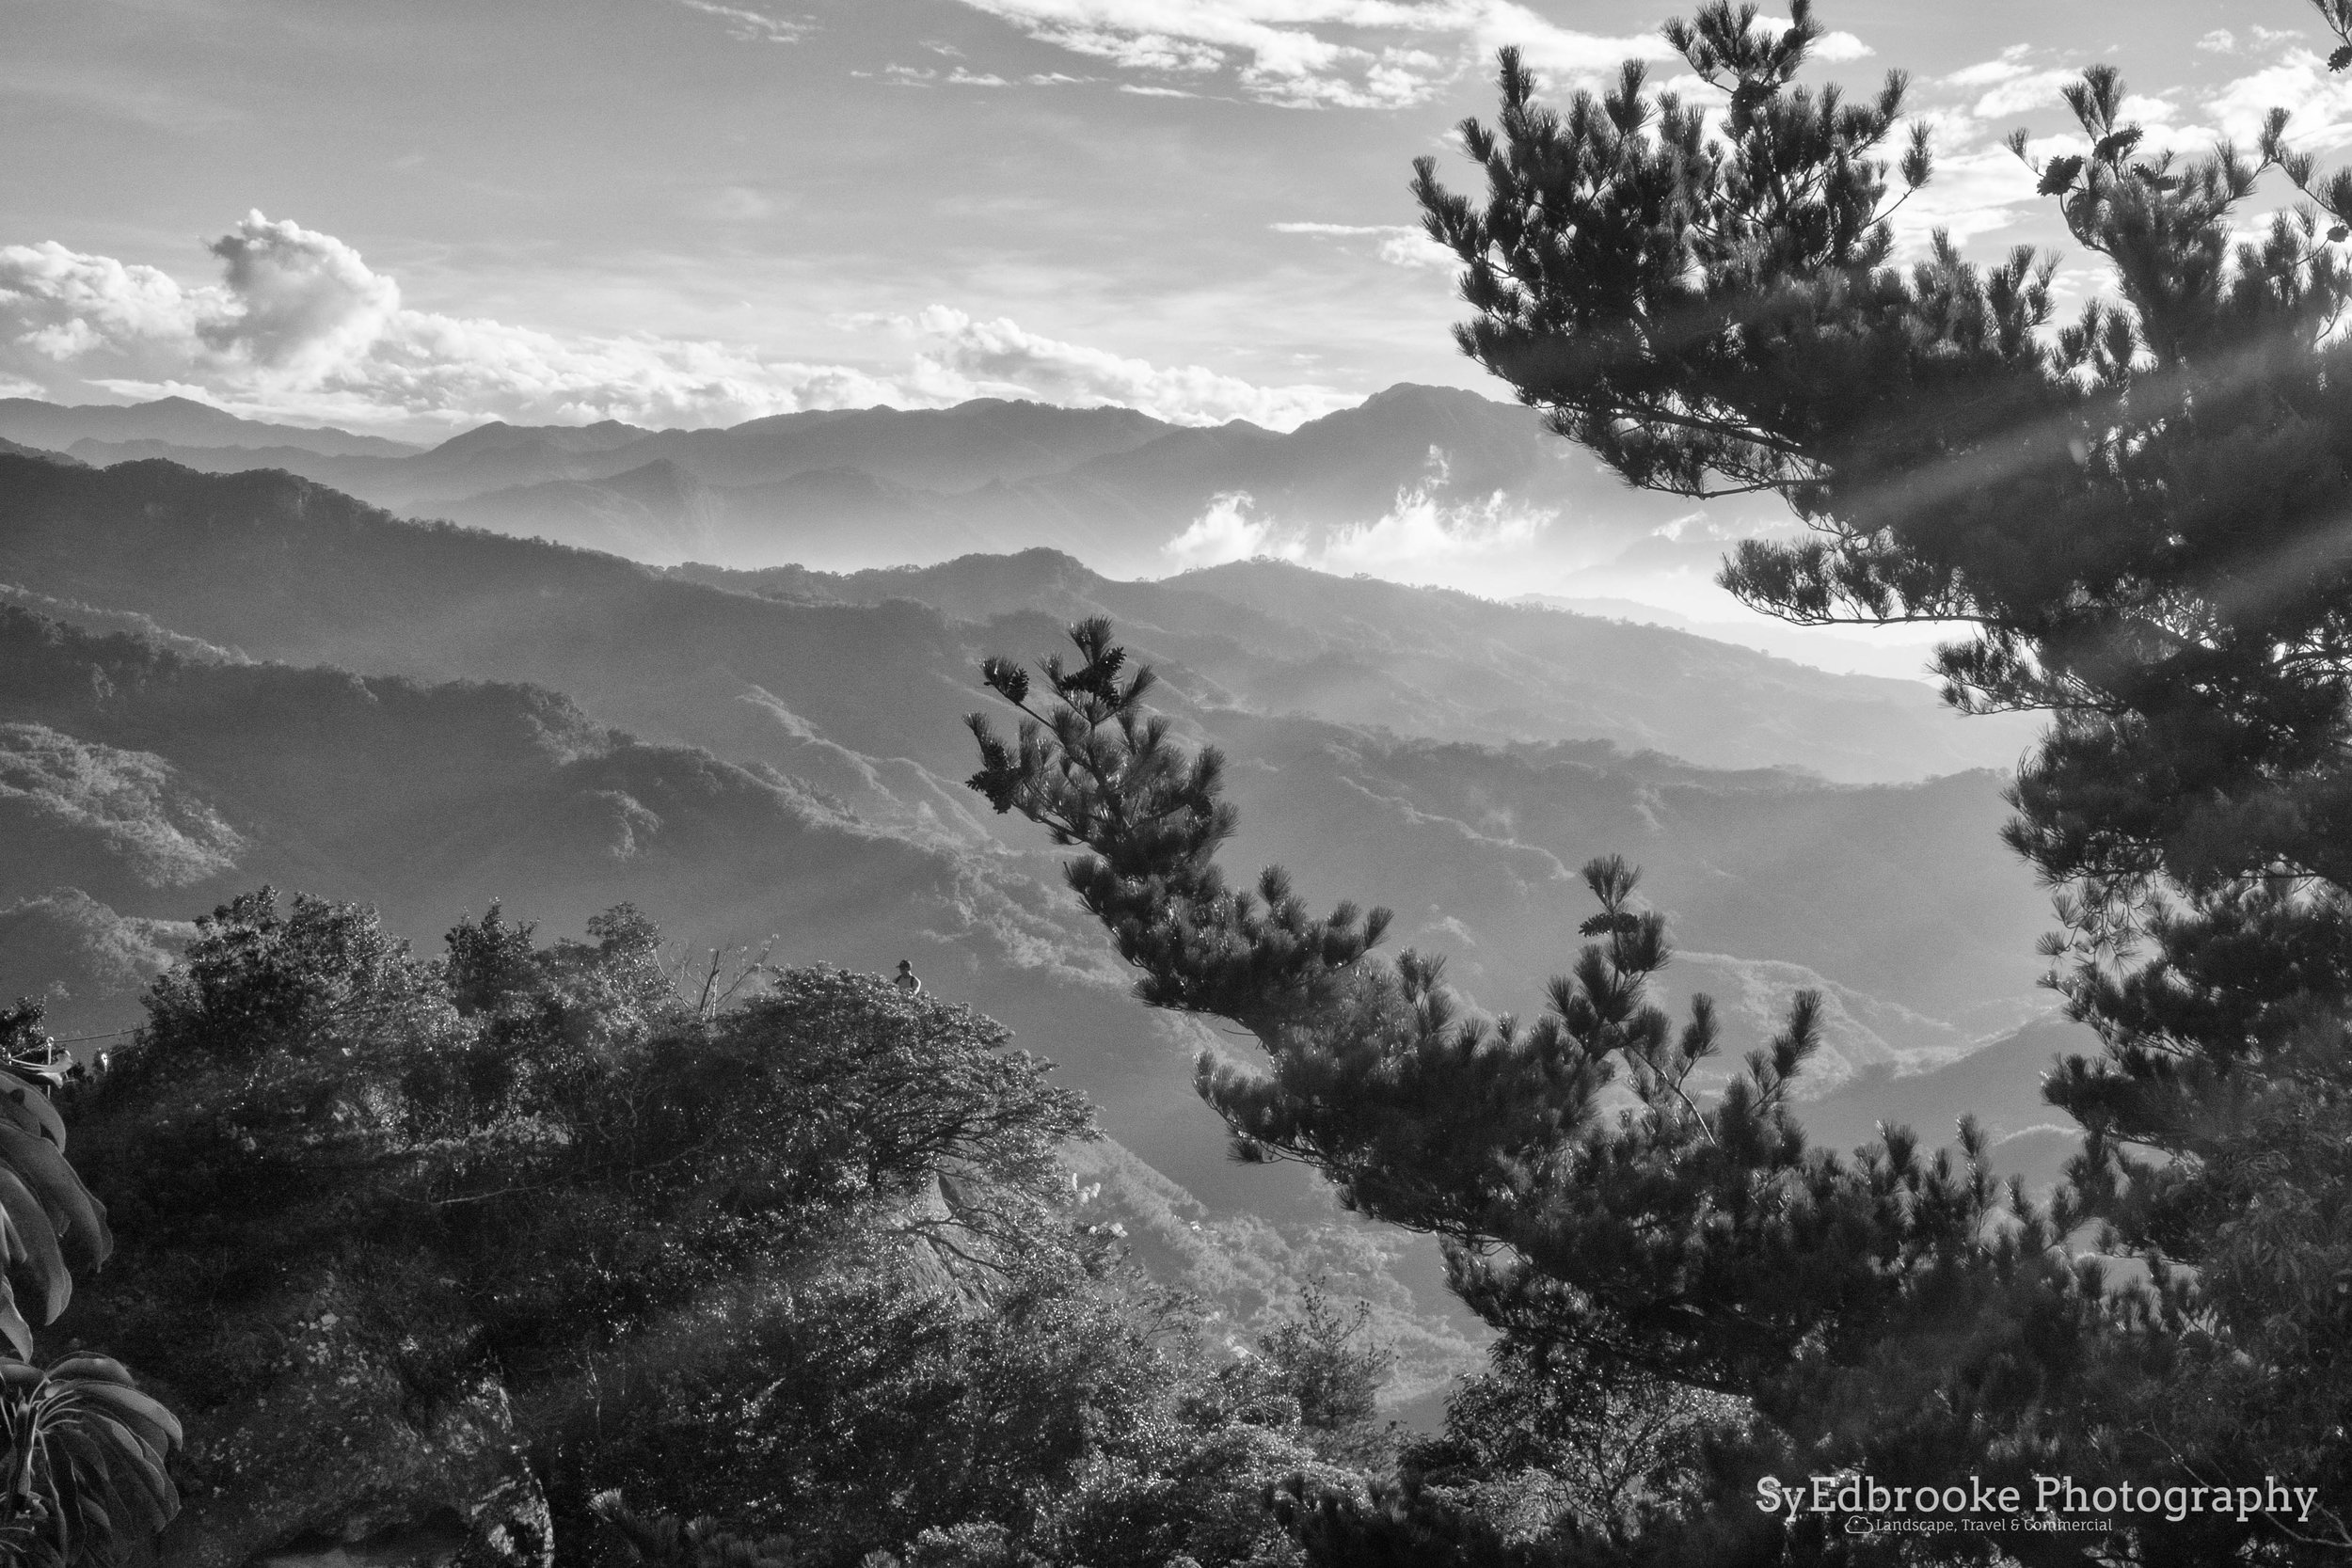
One of the favourite and most intriguing parts of the hike is the mountain range out to the west of Wuliaojian (?? not sure exactly if that's right direction, but they are fairly visible!). Each time I have been hiking here, there has been a huge tsunami type cloud rolling over the distance mountain peaks. It looks spectacular and offers some incredible opportunities for wide and cropped in landscape compositions. I used a mix of my all round hybrid wide lens and prime 75mm lens to take the pictures featured in this guide. The moment I laid eyes on those distant peaks I decided that one day I would hike up them! Hopefully now I have a little more free time on my hands, I can cross climbing them off my to do list!

a panoramic shot of the valley stretching into the distance mountains. f22, ISO 640, 1/60, 24mm

A long hiker on the secondary peak. f16, ISO 640, 1/80, 27mm

Hold on tight! f22, ISO 500, 1/60, 24mm
There isn't much else to tell about the hiking route really. Once you get down the forest level, the path has some sections of wooden steps, and is a lot more mild compared the start of the hike. It's still important to watch your step as it can remain pretty damn and muddy in this part of the forest. The route back the start of the trail is clearly sign posted and it's easy enough to follow all the way down the mountain. With all the hiking at the start of the hike your knees might ache (I know mine did!) which is why I recommend a walking pole if you have one. It helps a great deal to have something to lean on, on the way down. If you don't, you can copy my technique and pick up one of the broken bamboo shoots on the side of the trail that double nicely as a walking stick.

walking sticks galore! f20, ISO 1600, 3.2, 24mm
As I stated before this hike has some really nice, rewarding views for the people willing to push their way to the top. It's a tough ascent in some spots though, so keep that in mind when planning any trips here. Keep and eye on the weather forecast too, as it's not somewhere that I would recommend anyone going if there is a chance of rain / or has had recent rain. Photography wise it has some stunning views if you can catch it at the perfect time, with the perfect light though. I relish these types of hikes personally, as it feels like your effort is rewarded with stunning views and pictures to boot!

A cropped prime lens shot of the mysterious mountains. f22, ISO 1600, 1/125, 75mm

Golden hour at Wuliaojian. f22, ISO 1600, 1/125, 75mm (stitched panoramic)
In conclusion, I would say it's a fantastic little hike if you have the means to get there firstly, and secondly the fitness level to complete it. Transport is the one downside of this place. Before any hike like to plan out how I'm going to get there and get back, as it means once I'm there I can then fully focus on and enjoy the hike, without wondering how I'll get home. I should also say for any photographers reading, I shot all the pictures with my Olympus OMD EM5 markII. It's a great little camera and packs a great punch when shooting landscapes. If you are going to attempt this hike try to pack light for sure. The last thing you want to do is lug a bag full of heavy lens and tripods up the mountain! The entire route took me about 4 hours if I remember accurately, but it depends on how quick you want to hike the whole trail. It isn't the longest hike but the overall terrain and thick forest surrounding the trail make it challenging.
I hope you found this guide useful / interesting, if you've been there or are thinking of hiking here let me know what you think! I'd love to hear from you!
Until next time
Sy E