

Teapot Mt.
Hiking Guide
This is one of my favorite hikes in the north of Taiwan as it offers fantastic sweeping views of the coast and more often than not, has a pleasant cooling wind. Taiwan is hot a lot of the year round so it makes a nice change to have a breeze on more exposed hikes like this one.
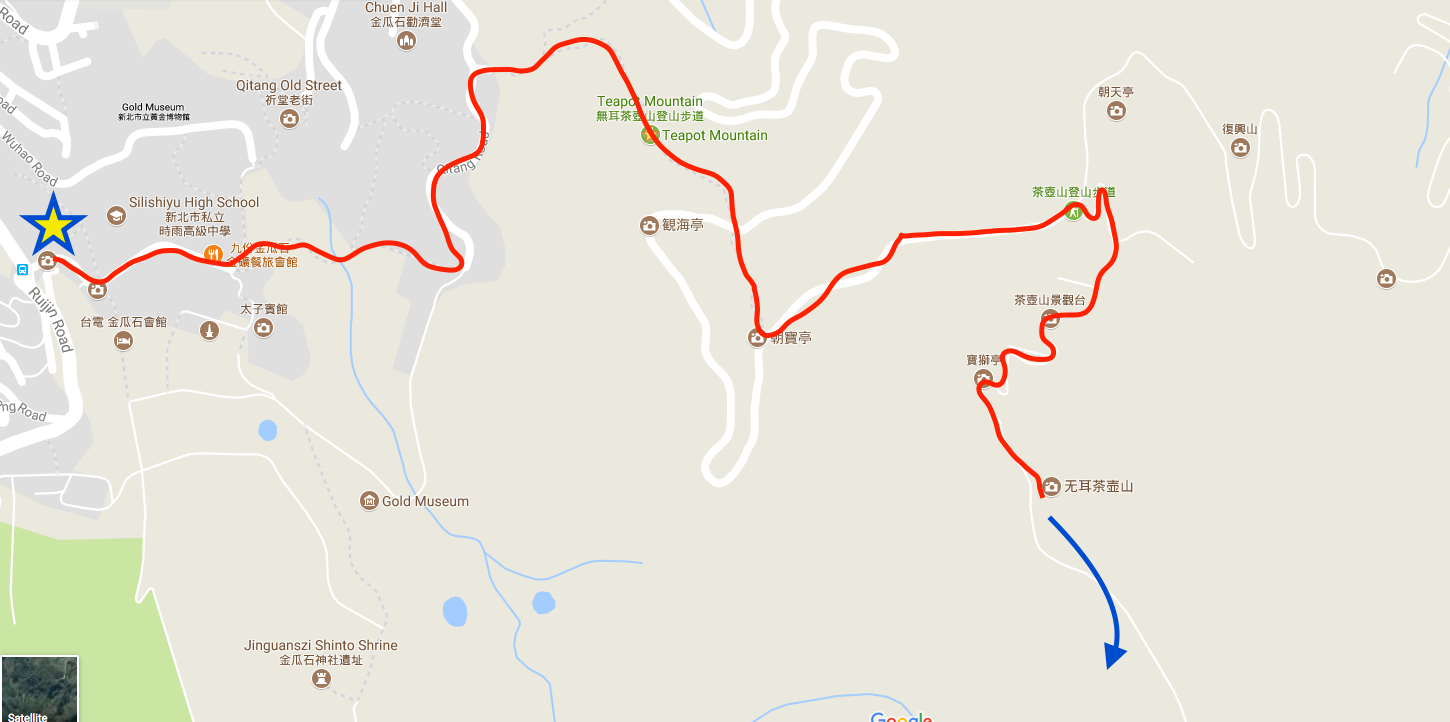
The best way to get to the trail head is by taking the 1062 bus to the gold museum from Zhongxiao Fuxing exit 2. This bus goes all the way through JiuFen to the start of the trail saving you having to transfer or change from bus to train. There are other options but I've found this to be the most simple way. I would suggest you try to go on a weekday as weekend traffic to Jiufen is terrible. There are often traffic jams on the tiny winding road back with numerous group tours going back and forth.
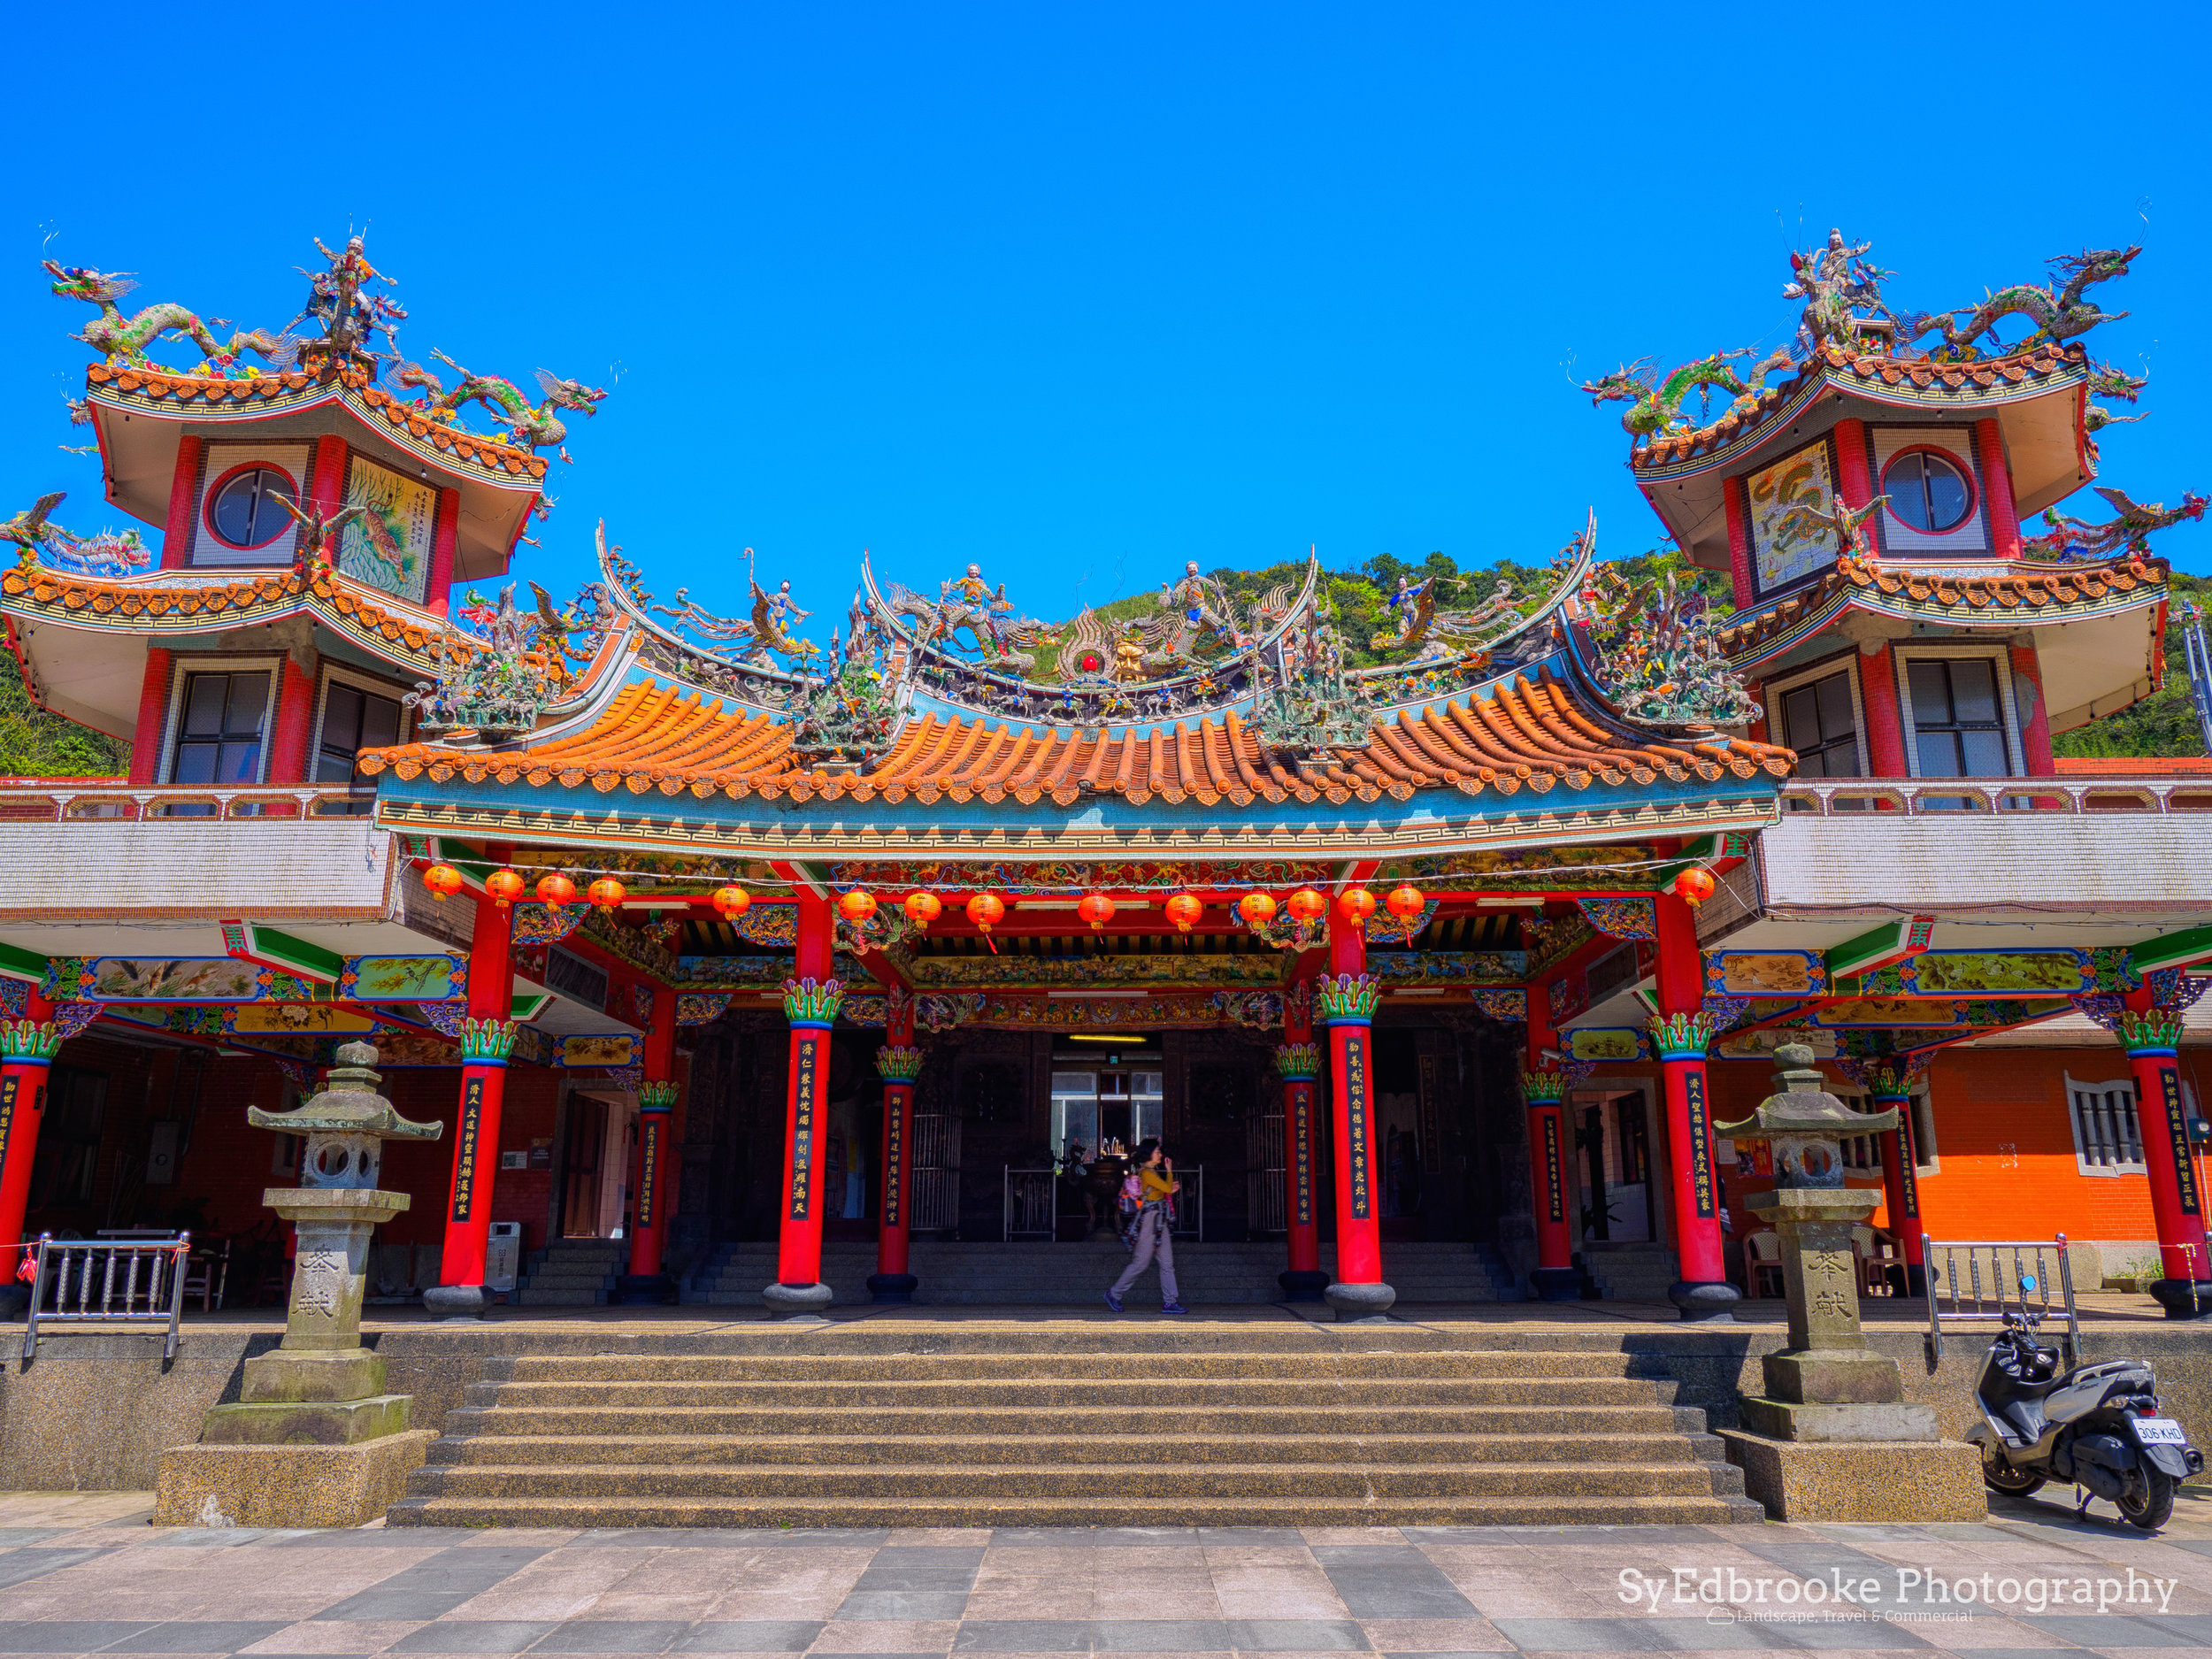
Once you hop off the bus at the entrance to the tourist info centre in the museum area, there is a little side path that leads off behind one of the buildings towards the small stream. I prefer to hike this way but it is possible to simply reverse the route I have suggested and head up the the stairway and around. On my route it leads you through the town. Look for the big temple and statue as a guide and it will get you through the small winding streets.

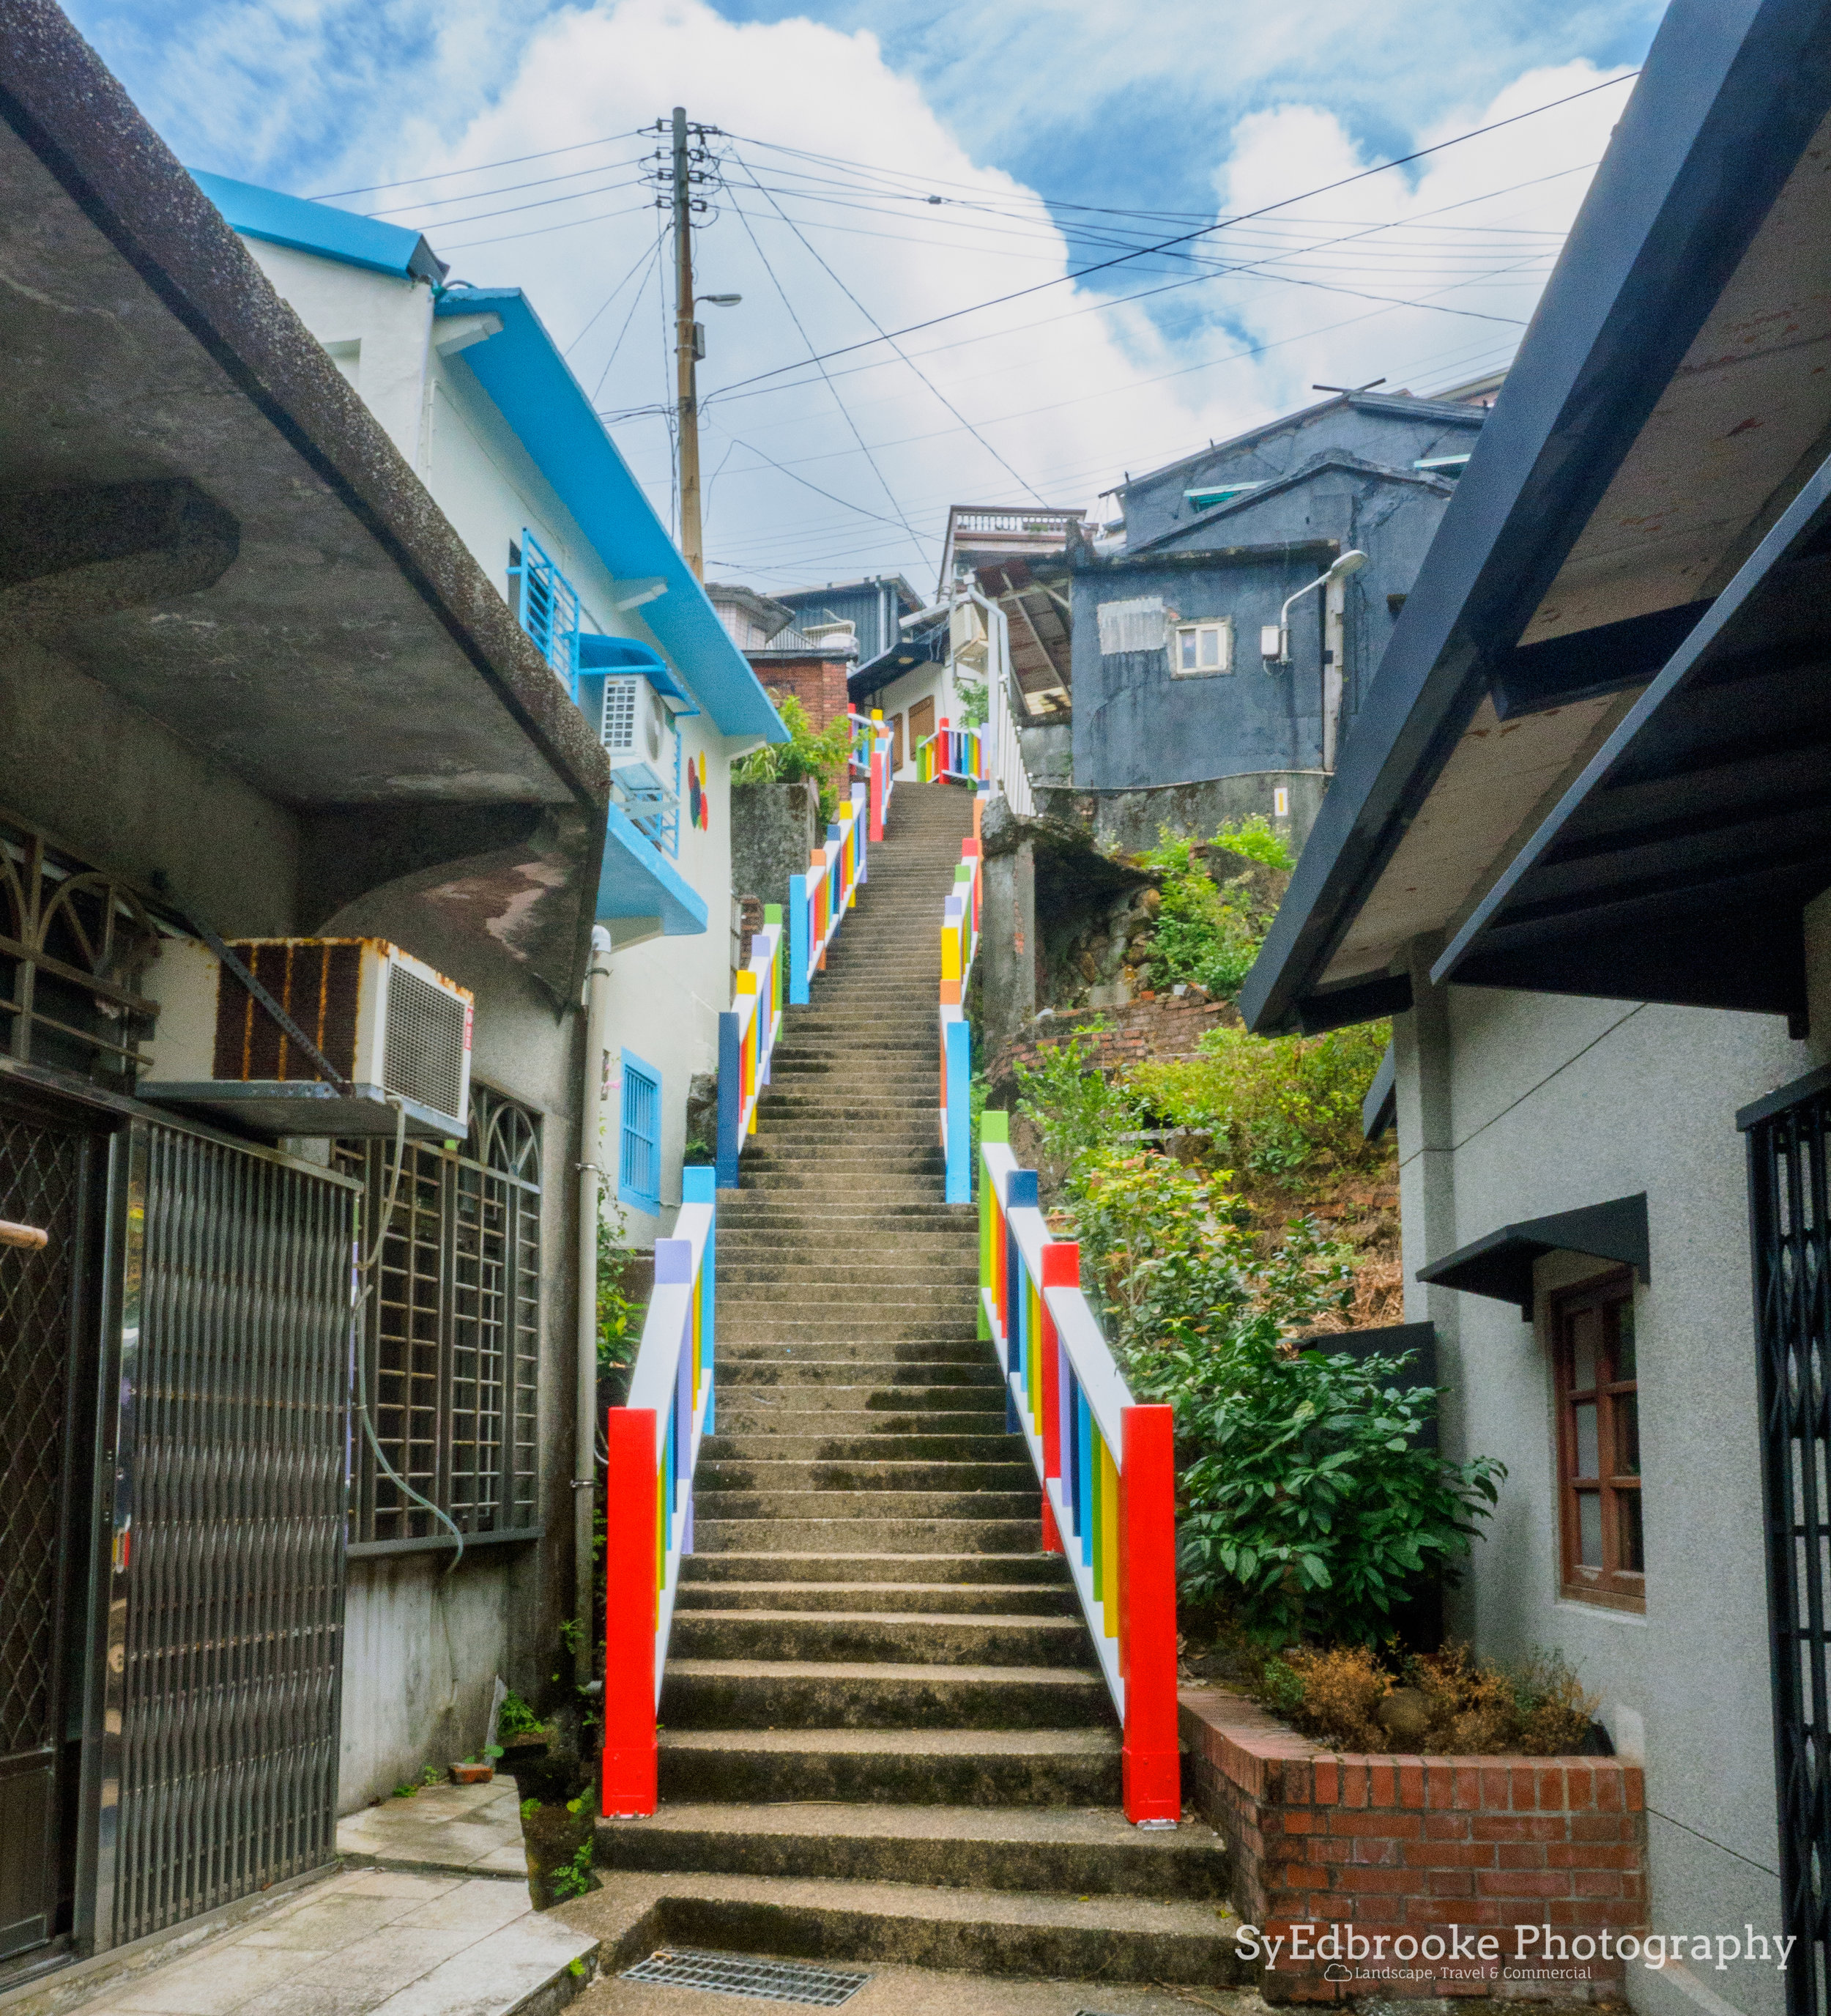
Once you find the coloured staircase close to the temple the way to the trail start is fairly well sign posted, and from there it's stairs. Lots of them! This route takes you up partly on the road, and partly on the trail towards the peak of Teapot mountain. On a mildly sunny day there is little shade on this hike so I would advise take sunscreen, a decent amount of water and decent hat if you own one!
There isn't a ton to explain about this section of the hike other than keep going up! You should be able to see Teapot summit the whole way up so it's fairly hard to get lost here. The highlight from a photographers perspective are the numerous compositions that are around on the way up. I like it so much here because you have the mountains rising up meeting the coast, providing spectacular views and leading lines in your snaps!

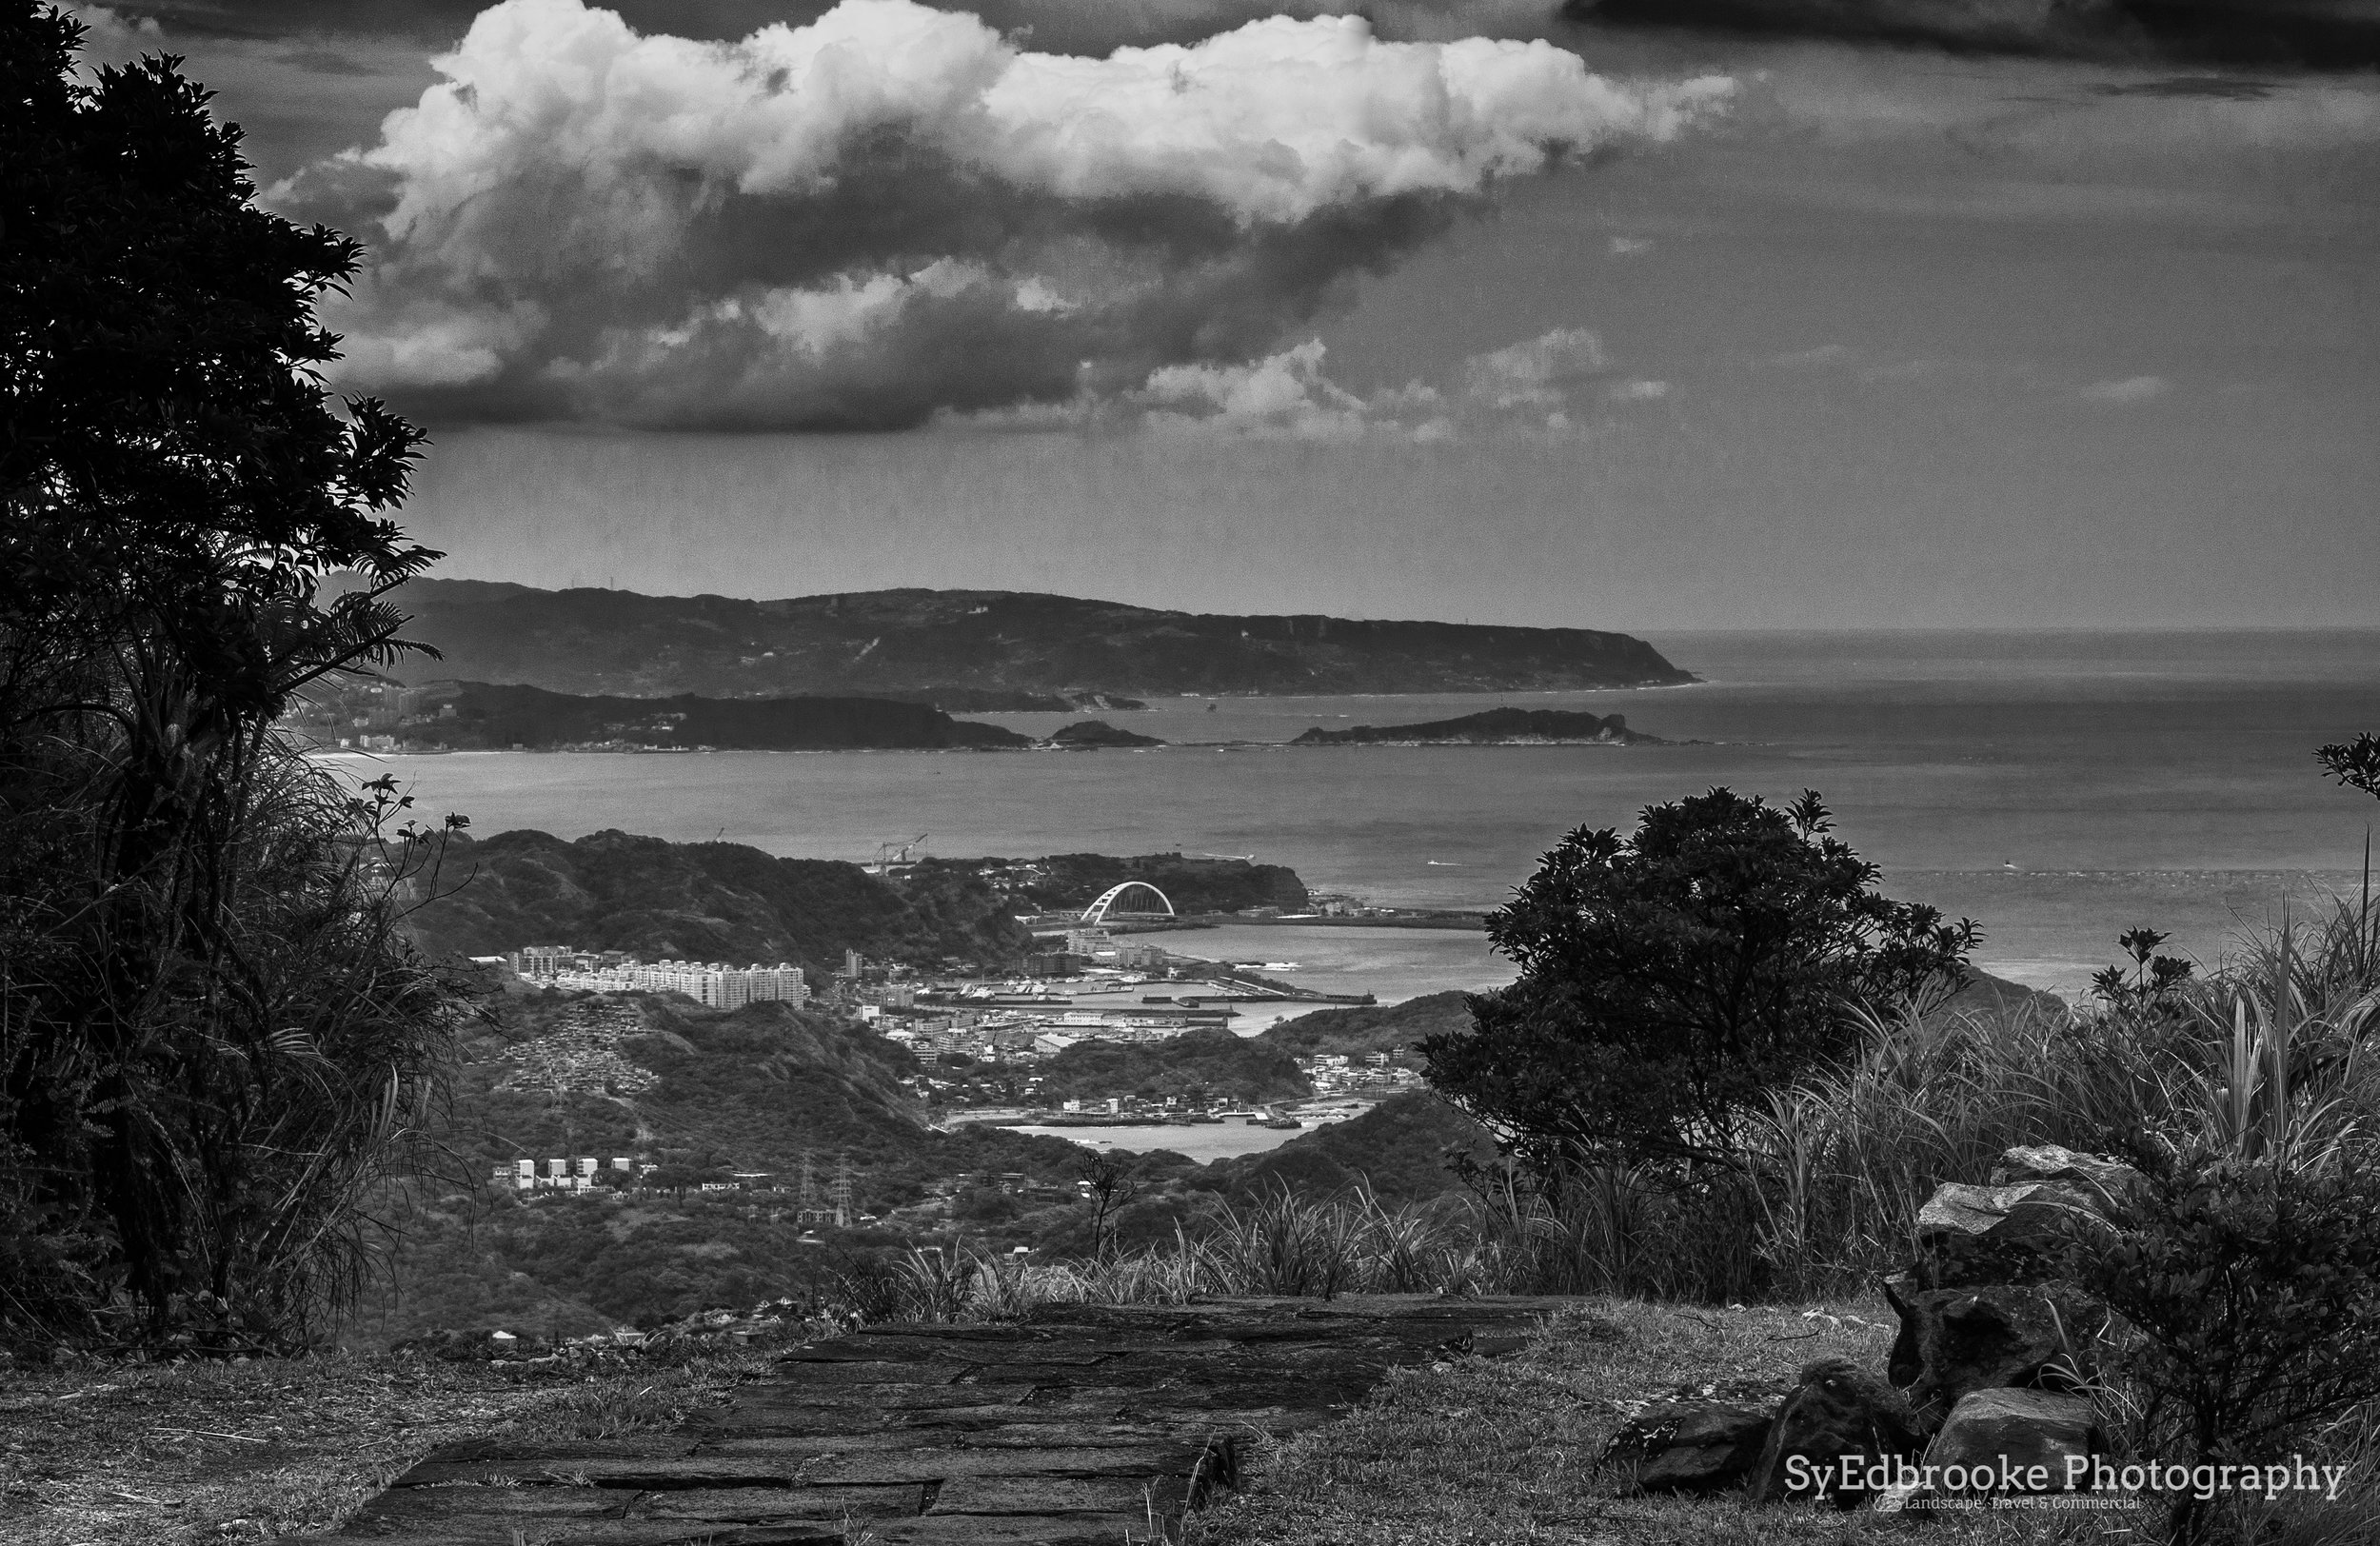
Looking out over on the first lookouts on the trail up. Mt Keelung in the background. f11, ISO 320, 1/80, 44mm

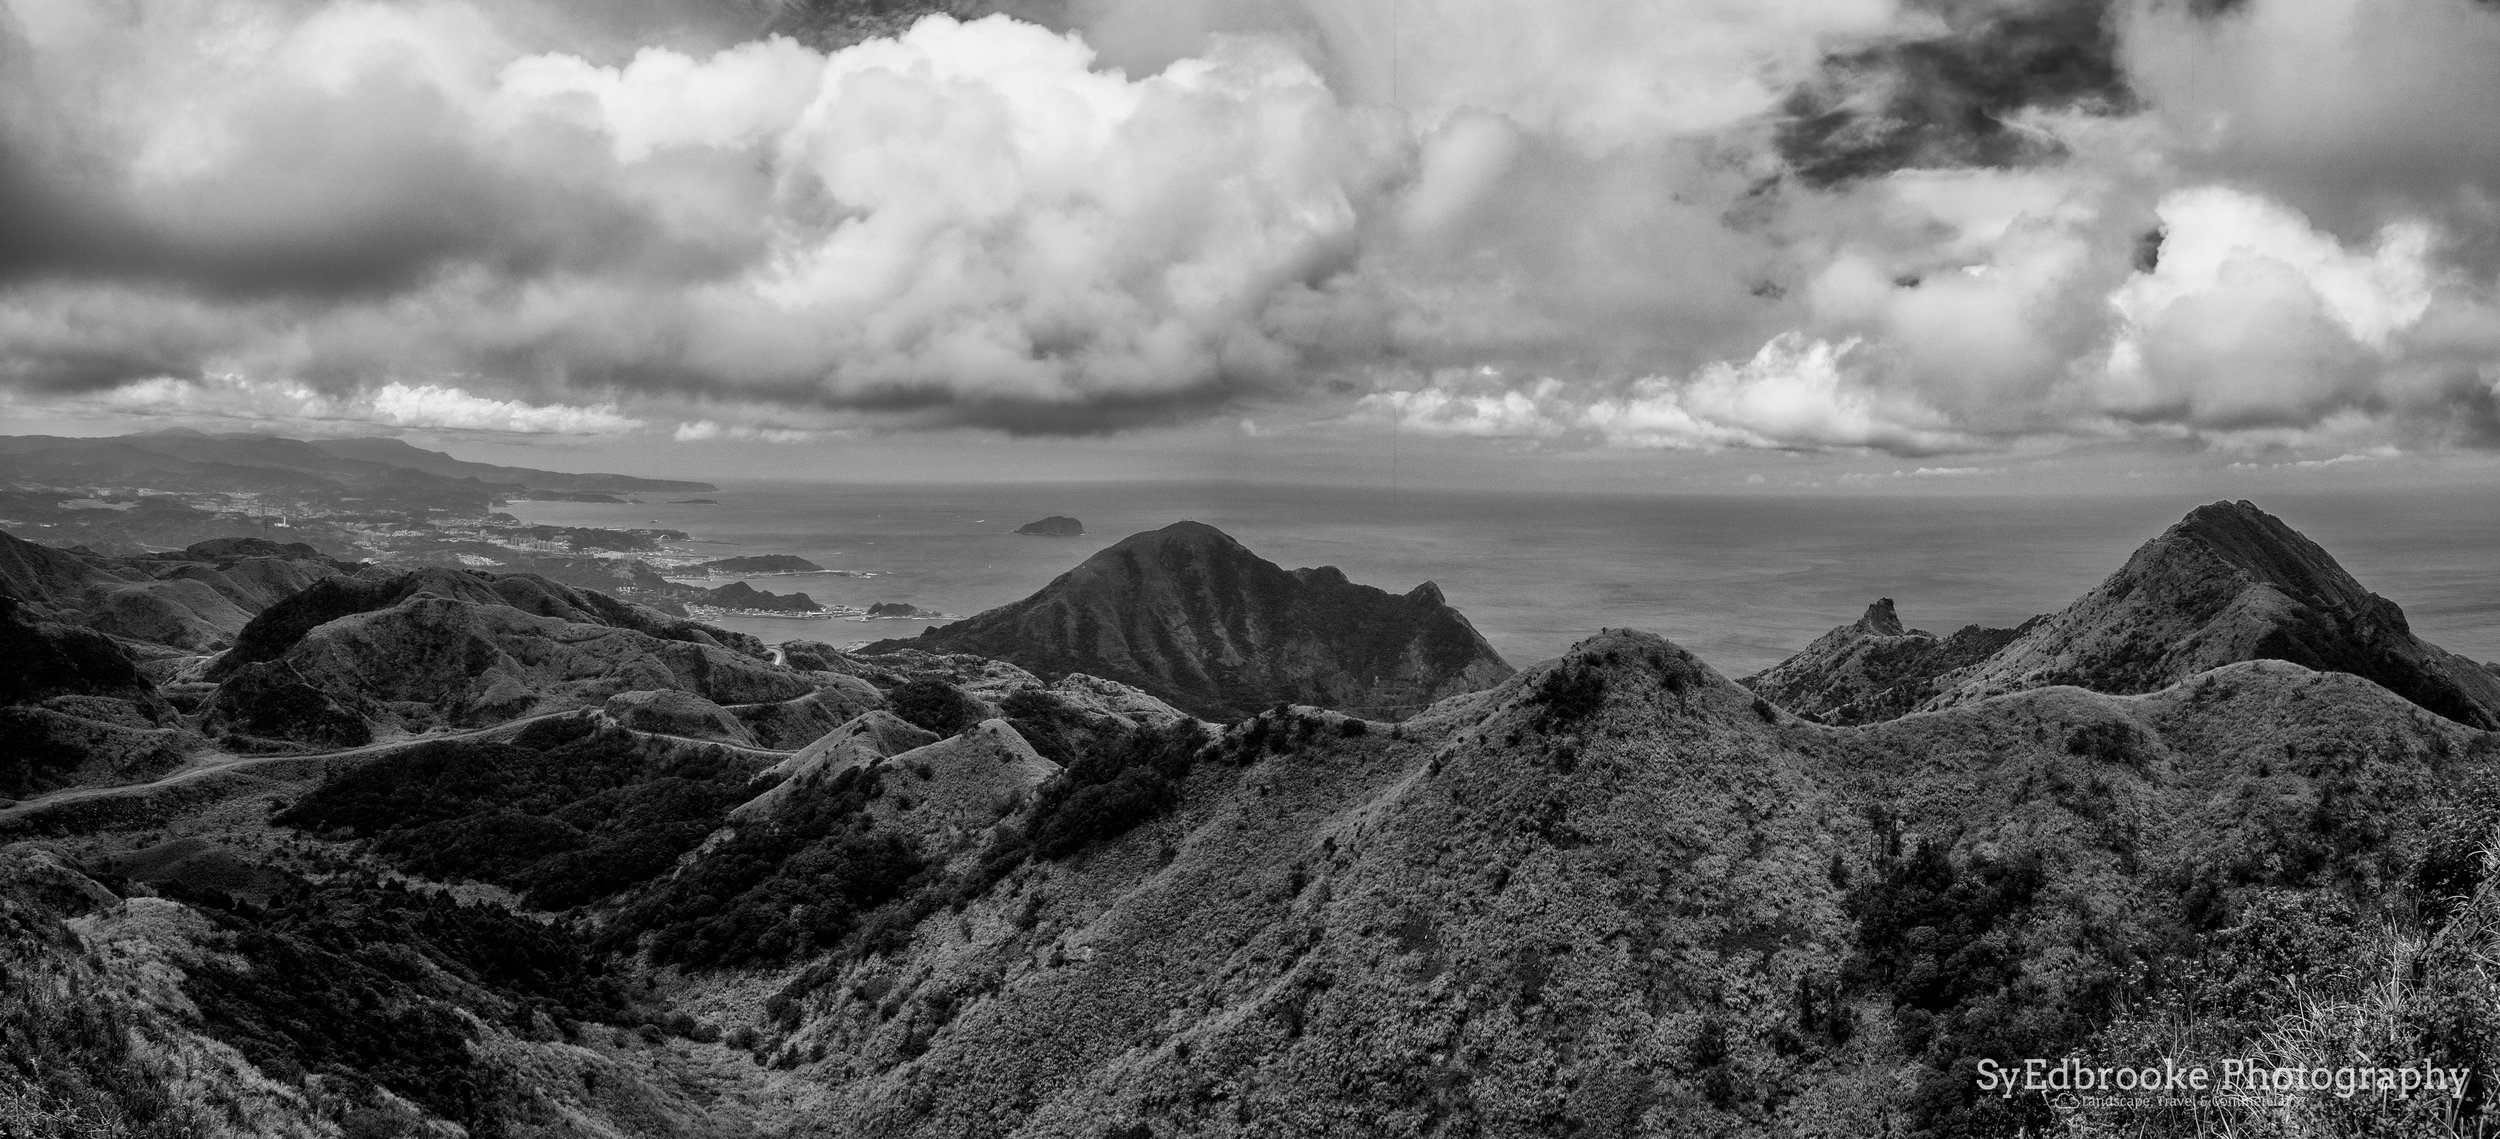
A panoramic of the route up towards the summit of Teapot mountain. f11, ISO 200, 1/100, 24mm (stitched)
Once you reach the summit of Teapot mountain there is a bit of a rope climbing section though the rock itself which offers classic instagramable selfies and if you have a wide enough lens (I shot my pictures with a variety of 14mm to 24mm lens on the two times I've been there). You can capture many of the surrounding peaks and ocean all in one with wide lens!

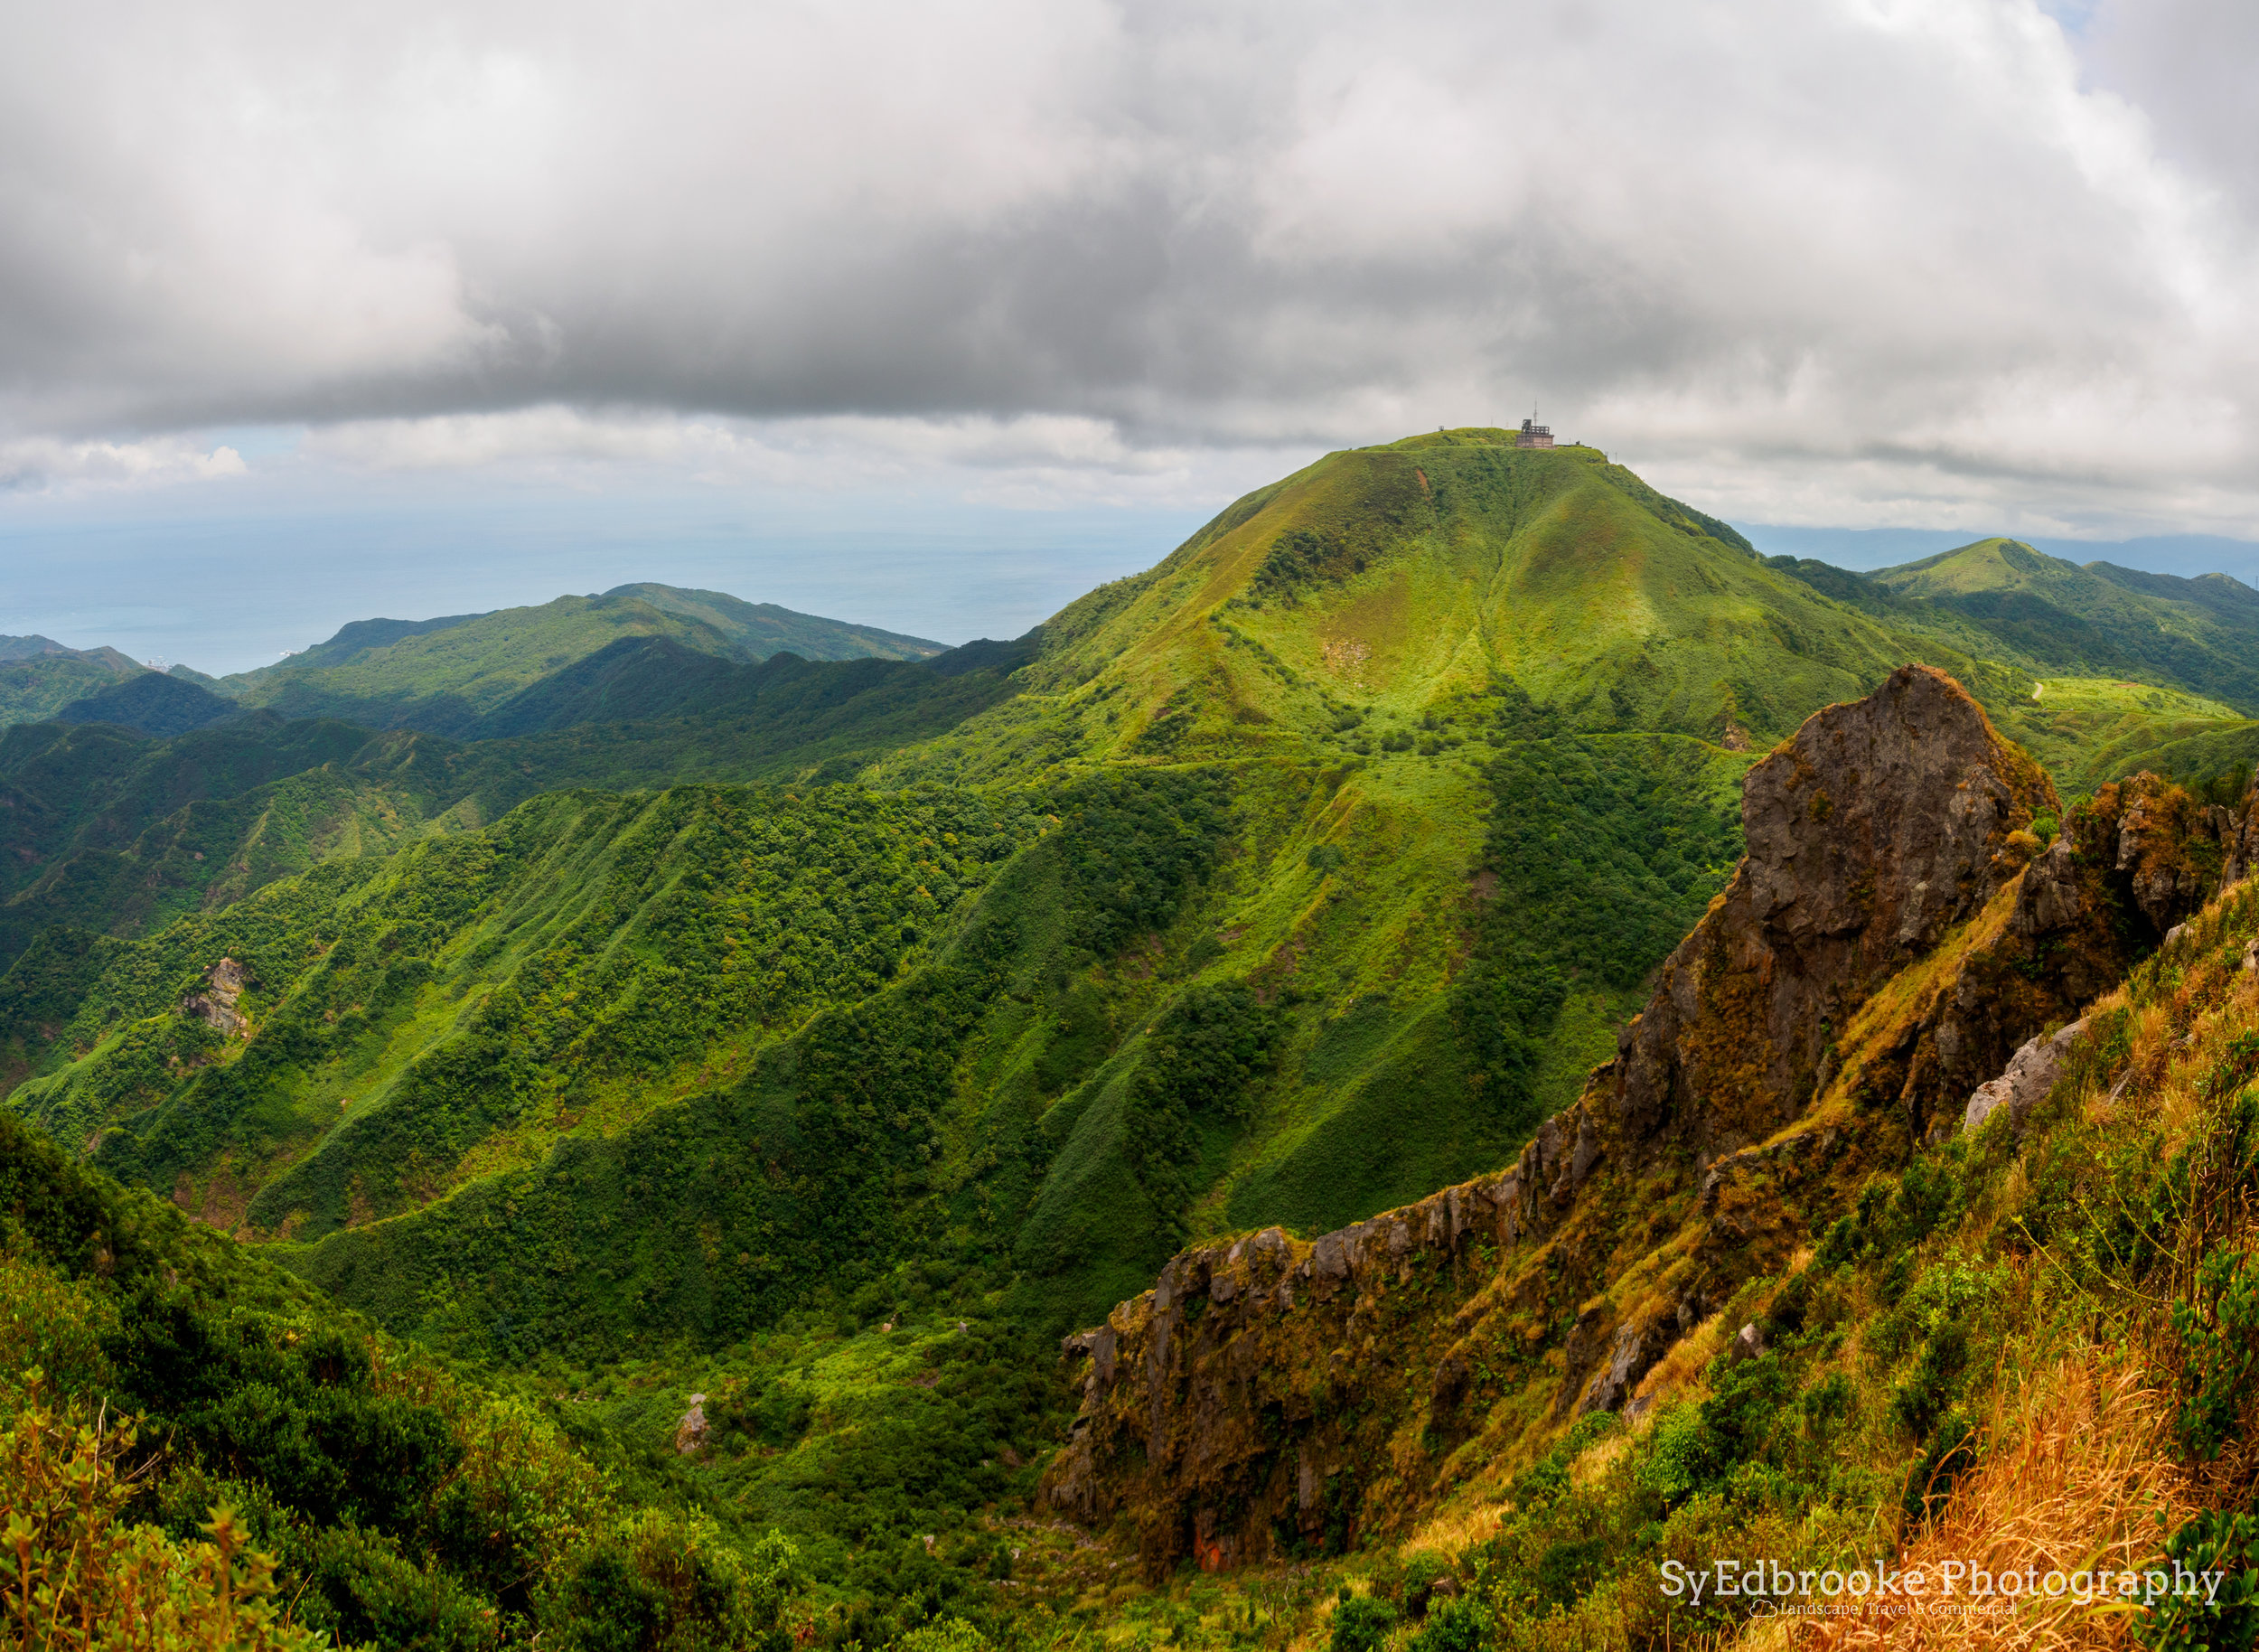
A panoramic shot of the summit, stitched together in lightroom shot at f11, ISO 100, 1/100, 24mm (stitched)

A nice little cropped in shot of one of the valleys from the summit. f11, ISO 100, 1/80, 76mm
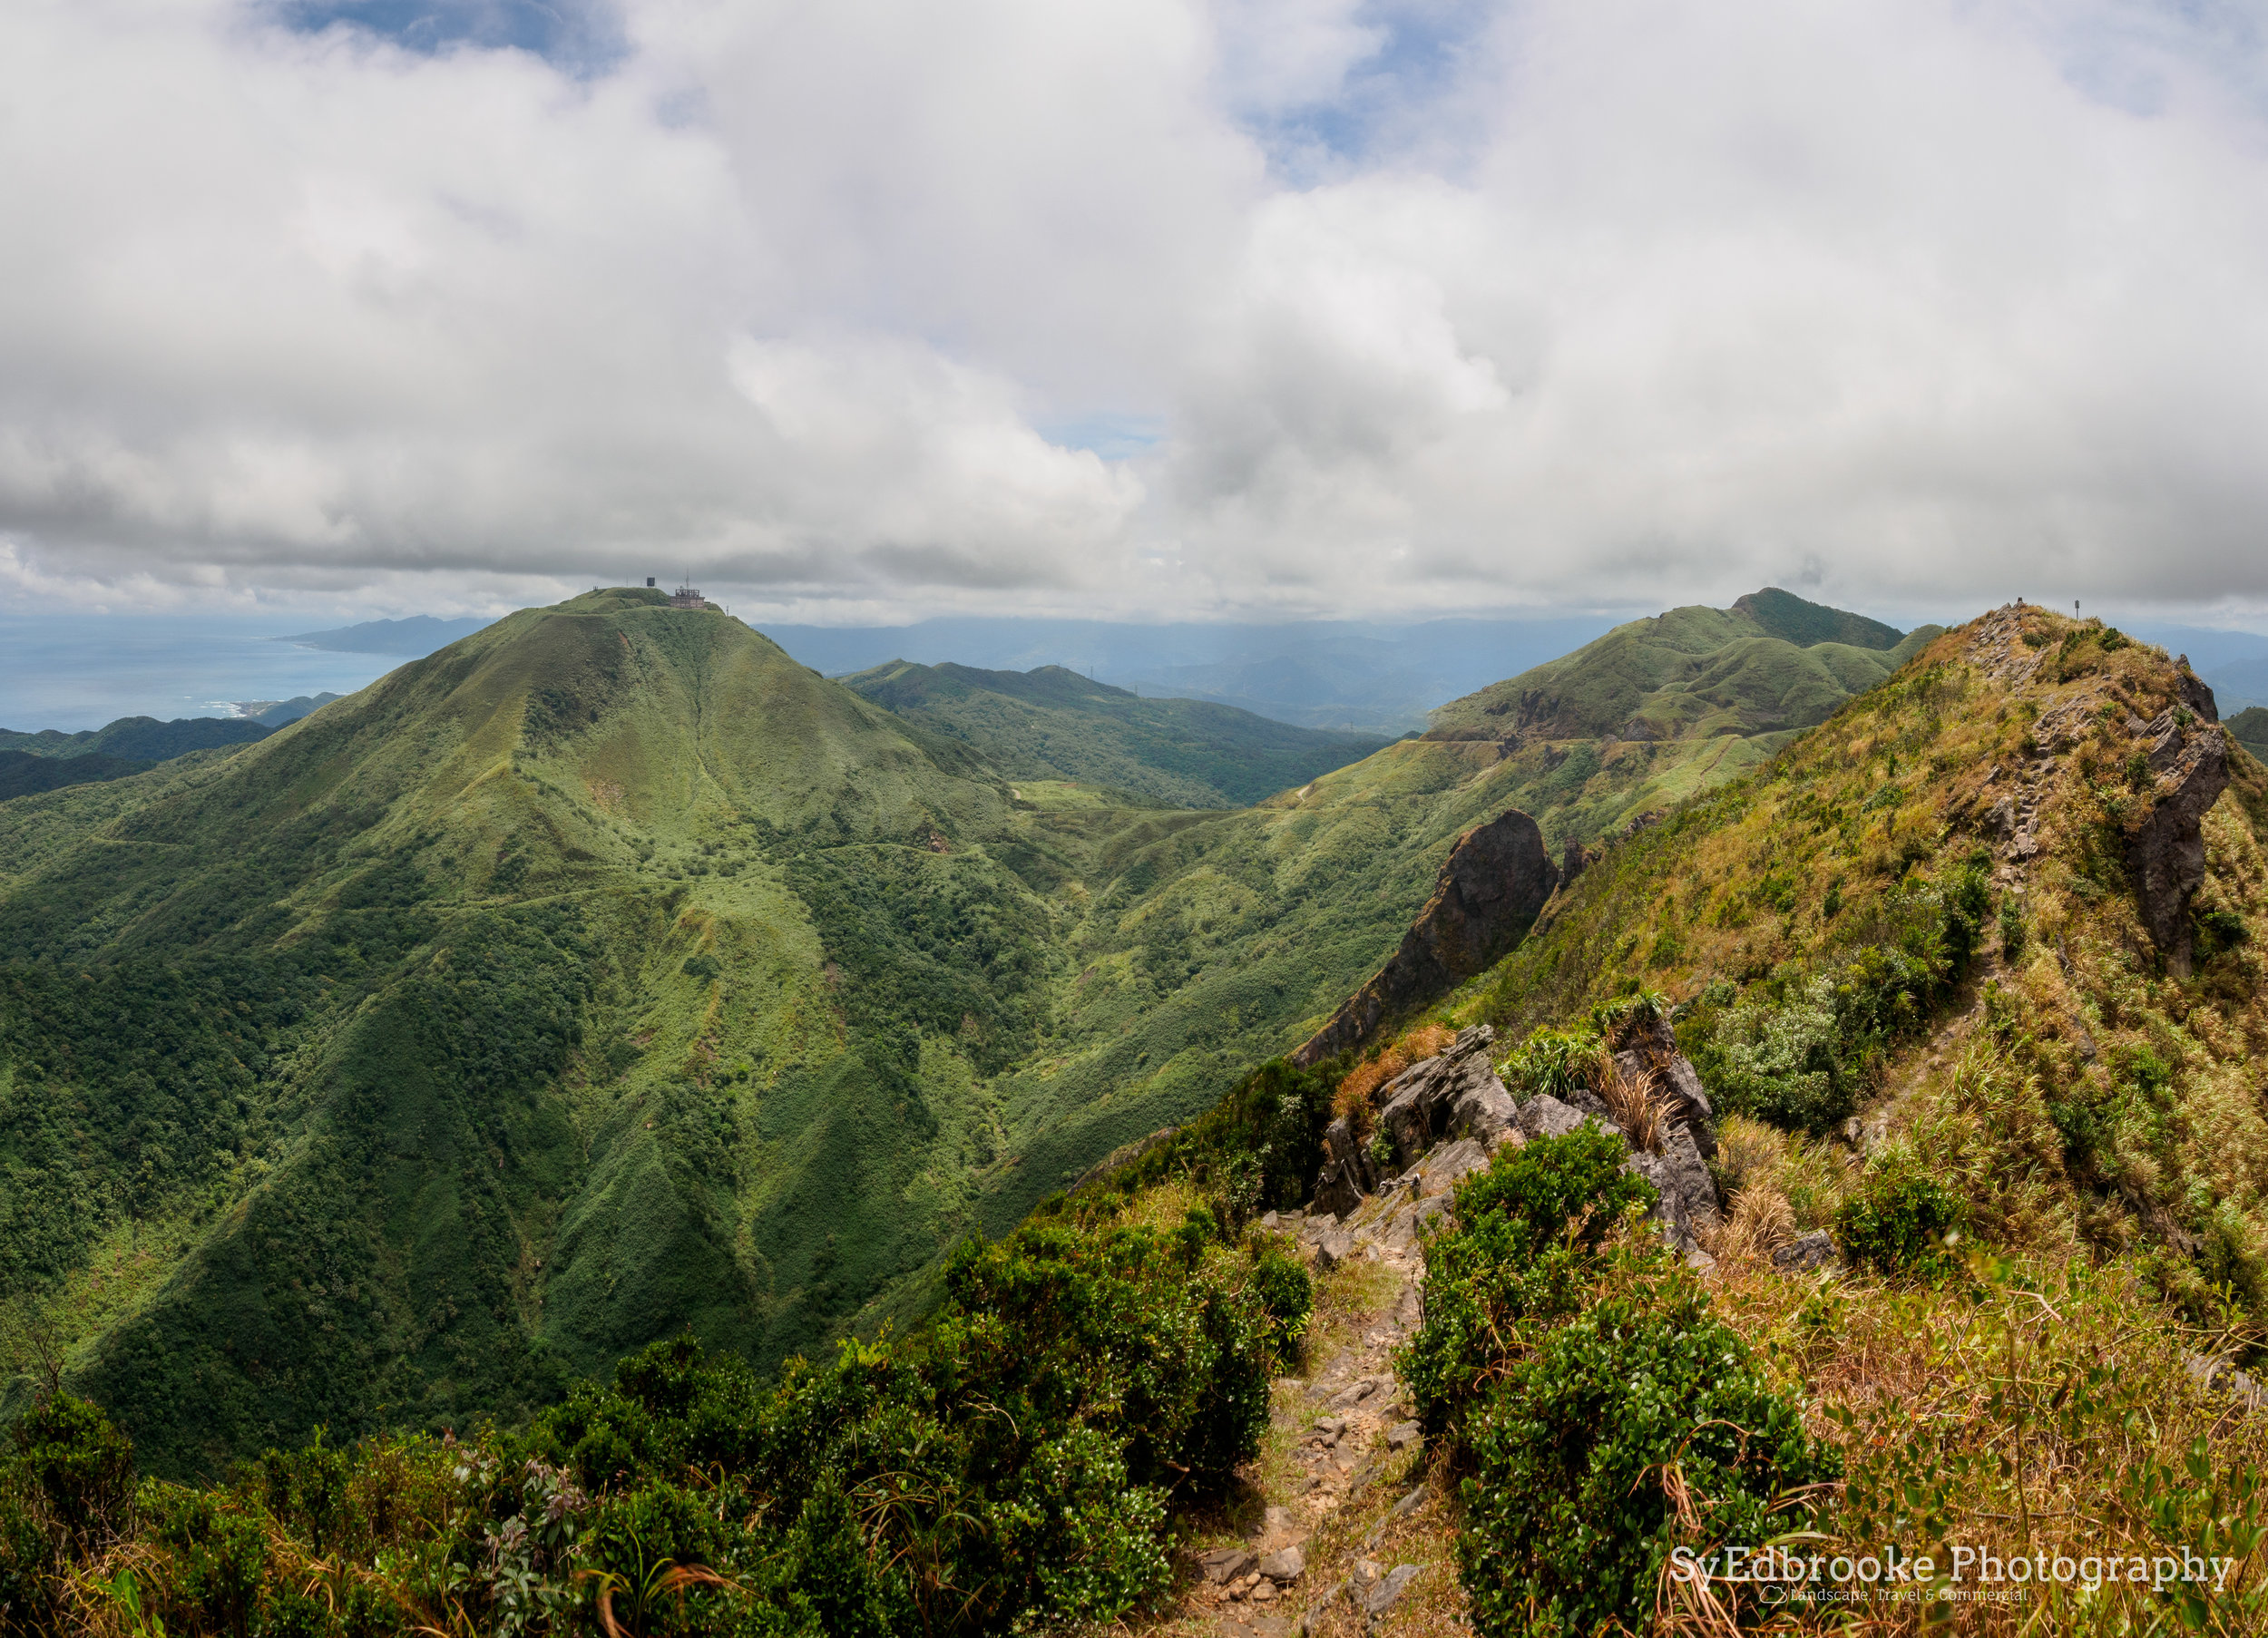
At this point in the hike it is entirely possible to backtrack and head back the way you came if you aren't feeling up to it, but if you push on, the view becomes even better! You have to work your way through the rock section using the ropes that have been set up which leads you up towards the ridge above Teapot summit and beyond. This offers great perspectives on the surrounding area and a large portion of the north coast.
Follow the track up the face of the valley (its fairly well worn and easy to spot), if you need a marker look for the heart in the side of the mountain and head for that! Once you arrive at the base of the ridge there is a small rope section to climb. It has footholds cut out and plenty of ropes to hold on to on the way up. This gets you rolling views of either side of the ridge and the mountains! Its a perfect place for setting up panoramic pictures of the Keelung and Teapot mountain together. Also there are plenty of nice far reaching compositions of the mountain ranges if you have a longer zoom lens. For some of the pictures I used my 80-300mm but for the most part I stuck with my trusty 24-100mm.

Spot the heart on the side of the ridge! f10, ISO 100, 1/80, 14mm (stitched)

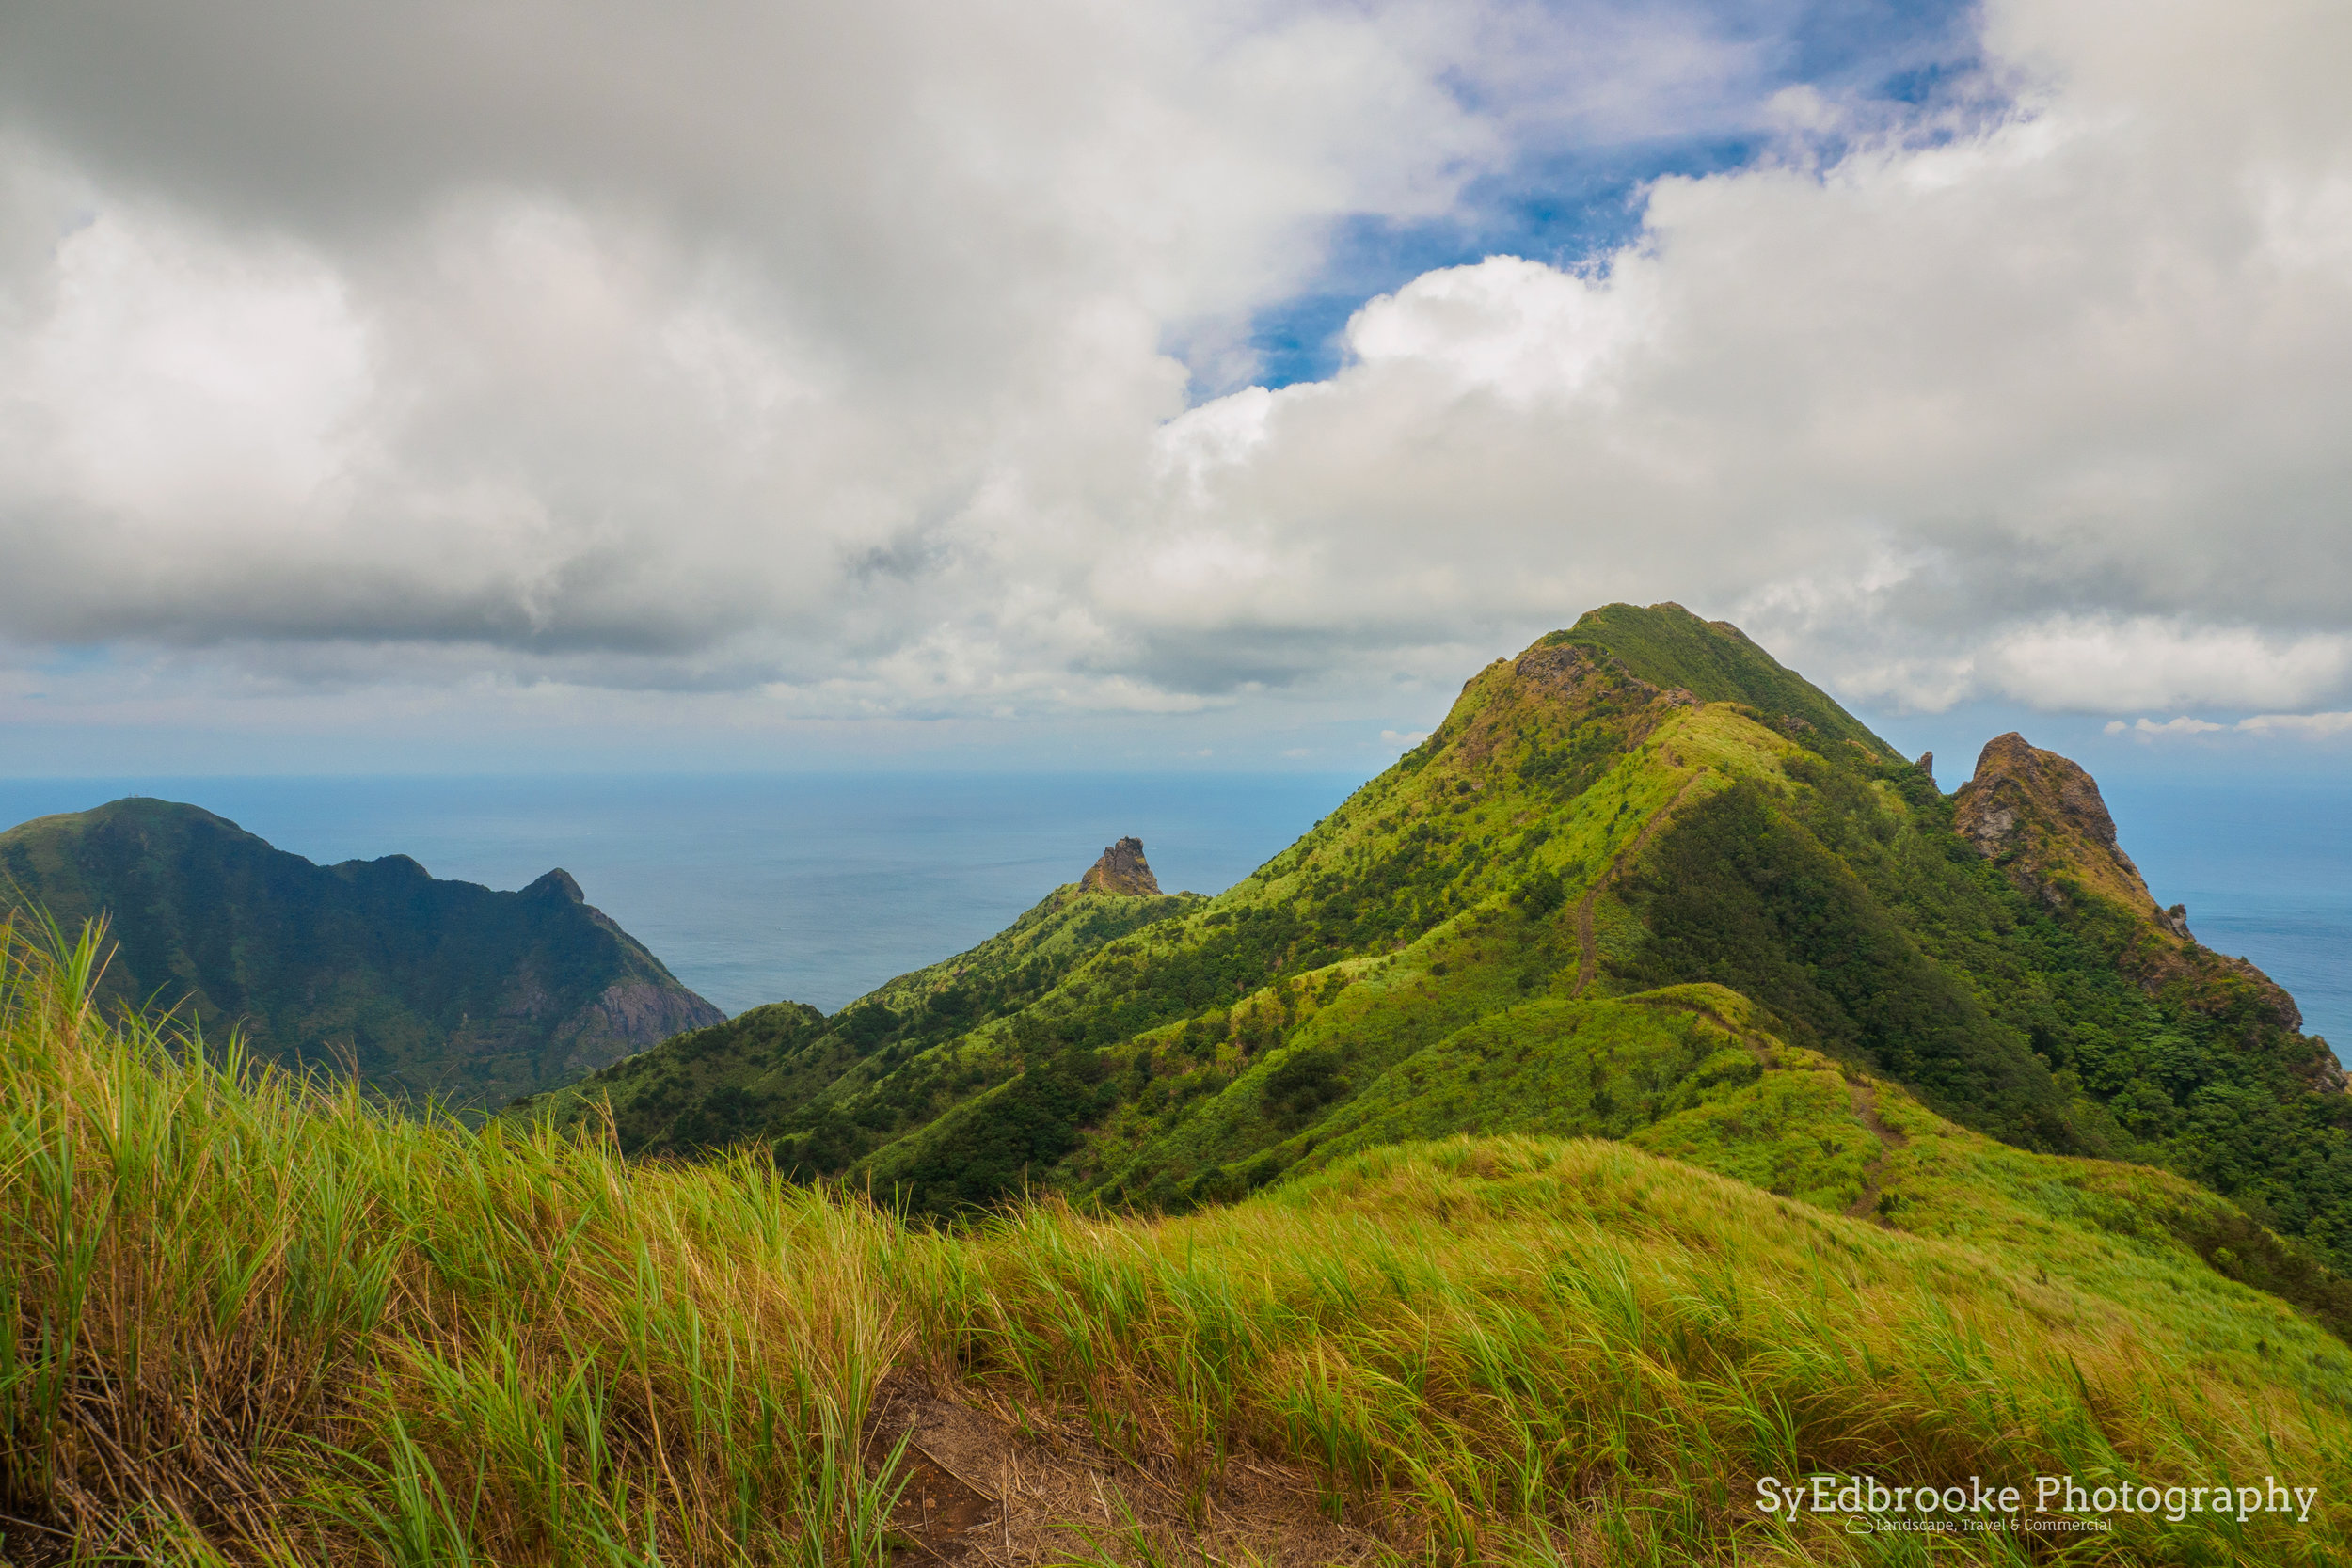
A view of both peaks. f11, ISO 200, 1/100, 24mm

Mt. Keelung with the port and Keelung city in the background. f11, ISO 200, 1/80, 100mm

The path up the ridge is visible here through the long grass on the mountain face. f11, ISO 200, 1/160, 24mm
There are one or two options once you are on top of the ridge line. One leads down left but I haven't ever explored there yet so I'm not too sure where you'd end up. My guess is it leads to somewhere on the north coast road close to the ocean. For this route though you want to follow the ridge left following the path and various ropes.
It can be a tad windy on this portion of the hike as the wind is often pretty strong coming up the valley, so it's good to watch your step here as a fall would mean a long drop down! It does offer great views though and there are plenty of great landscape compositions there to be shot.
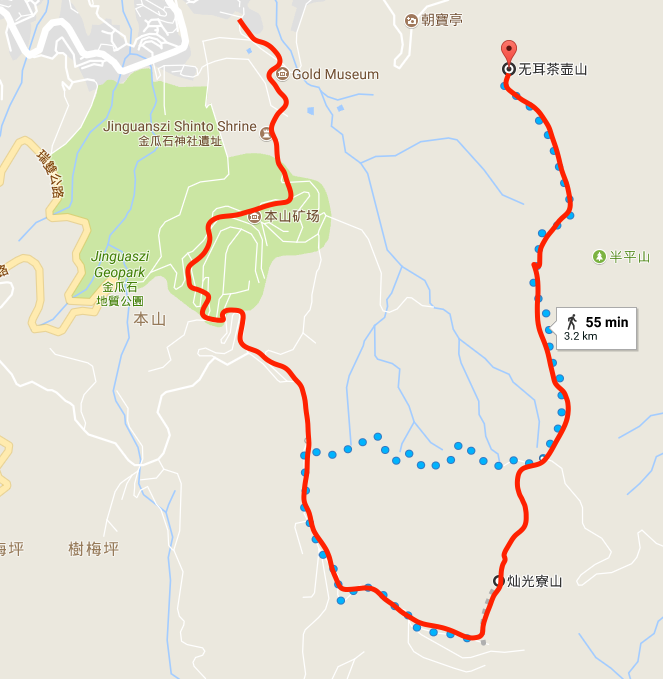
At this point the trail starts to dip down then back up again onto a road you can follow back to the ecological gold park and where we started our hike. On this occasion I was feeling more adventurous and decided to explore a bit more. Right as you hit the road hiking off the ridge hike there is a small signpost for Mt. canguanglaio. It's important to point out this part of the trail is not for the faint hearted and probably something I wouldn't recommend doing unless you are a fairly confident hiker.
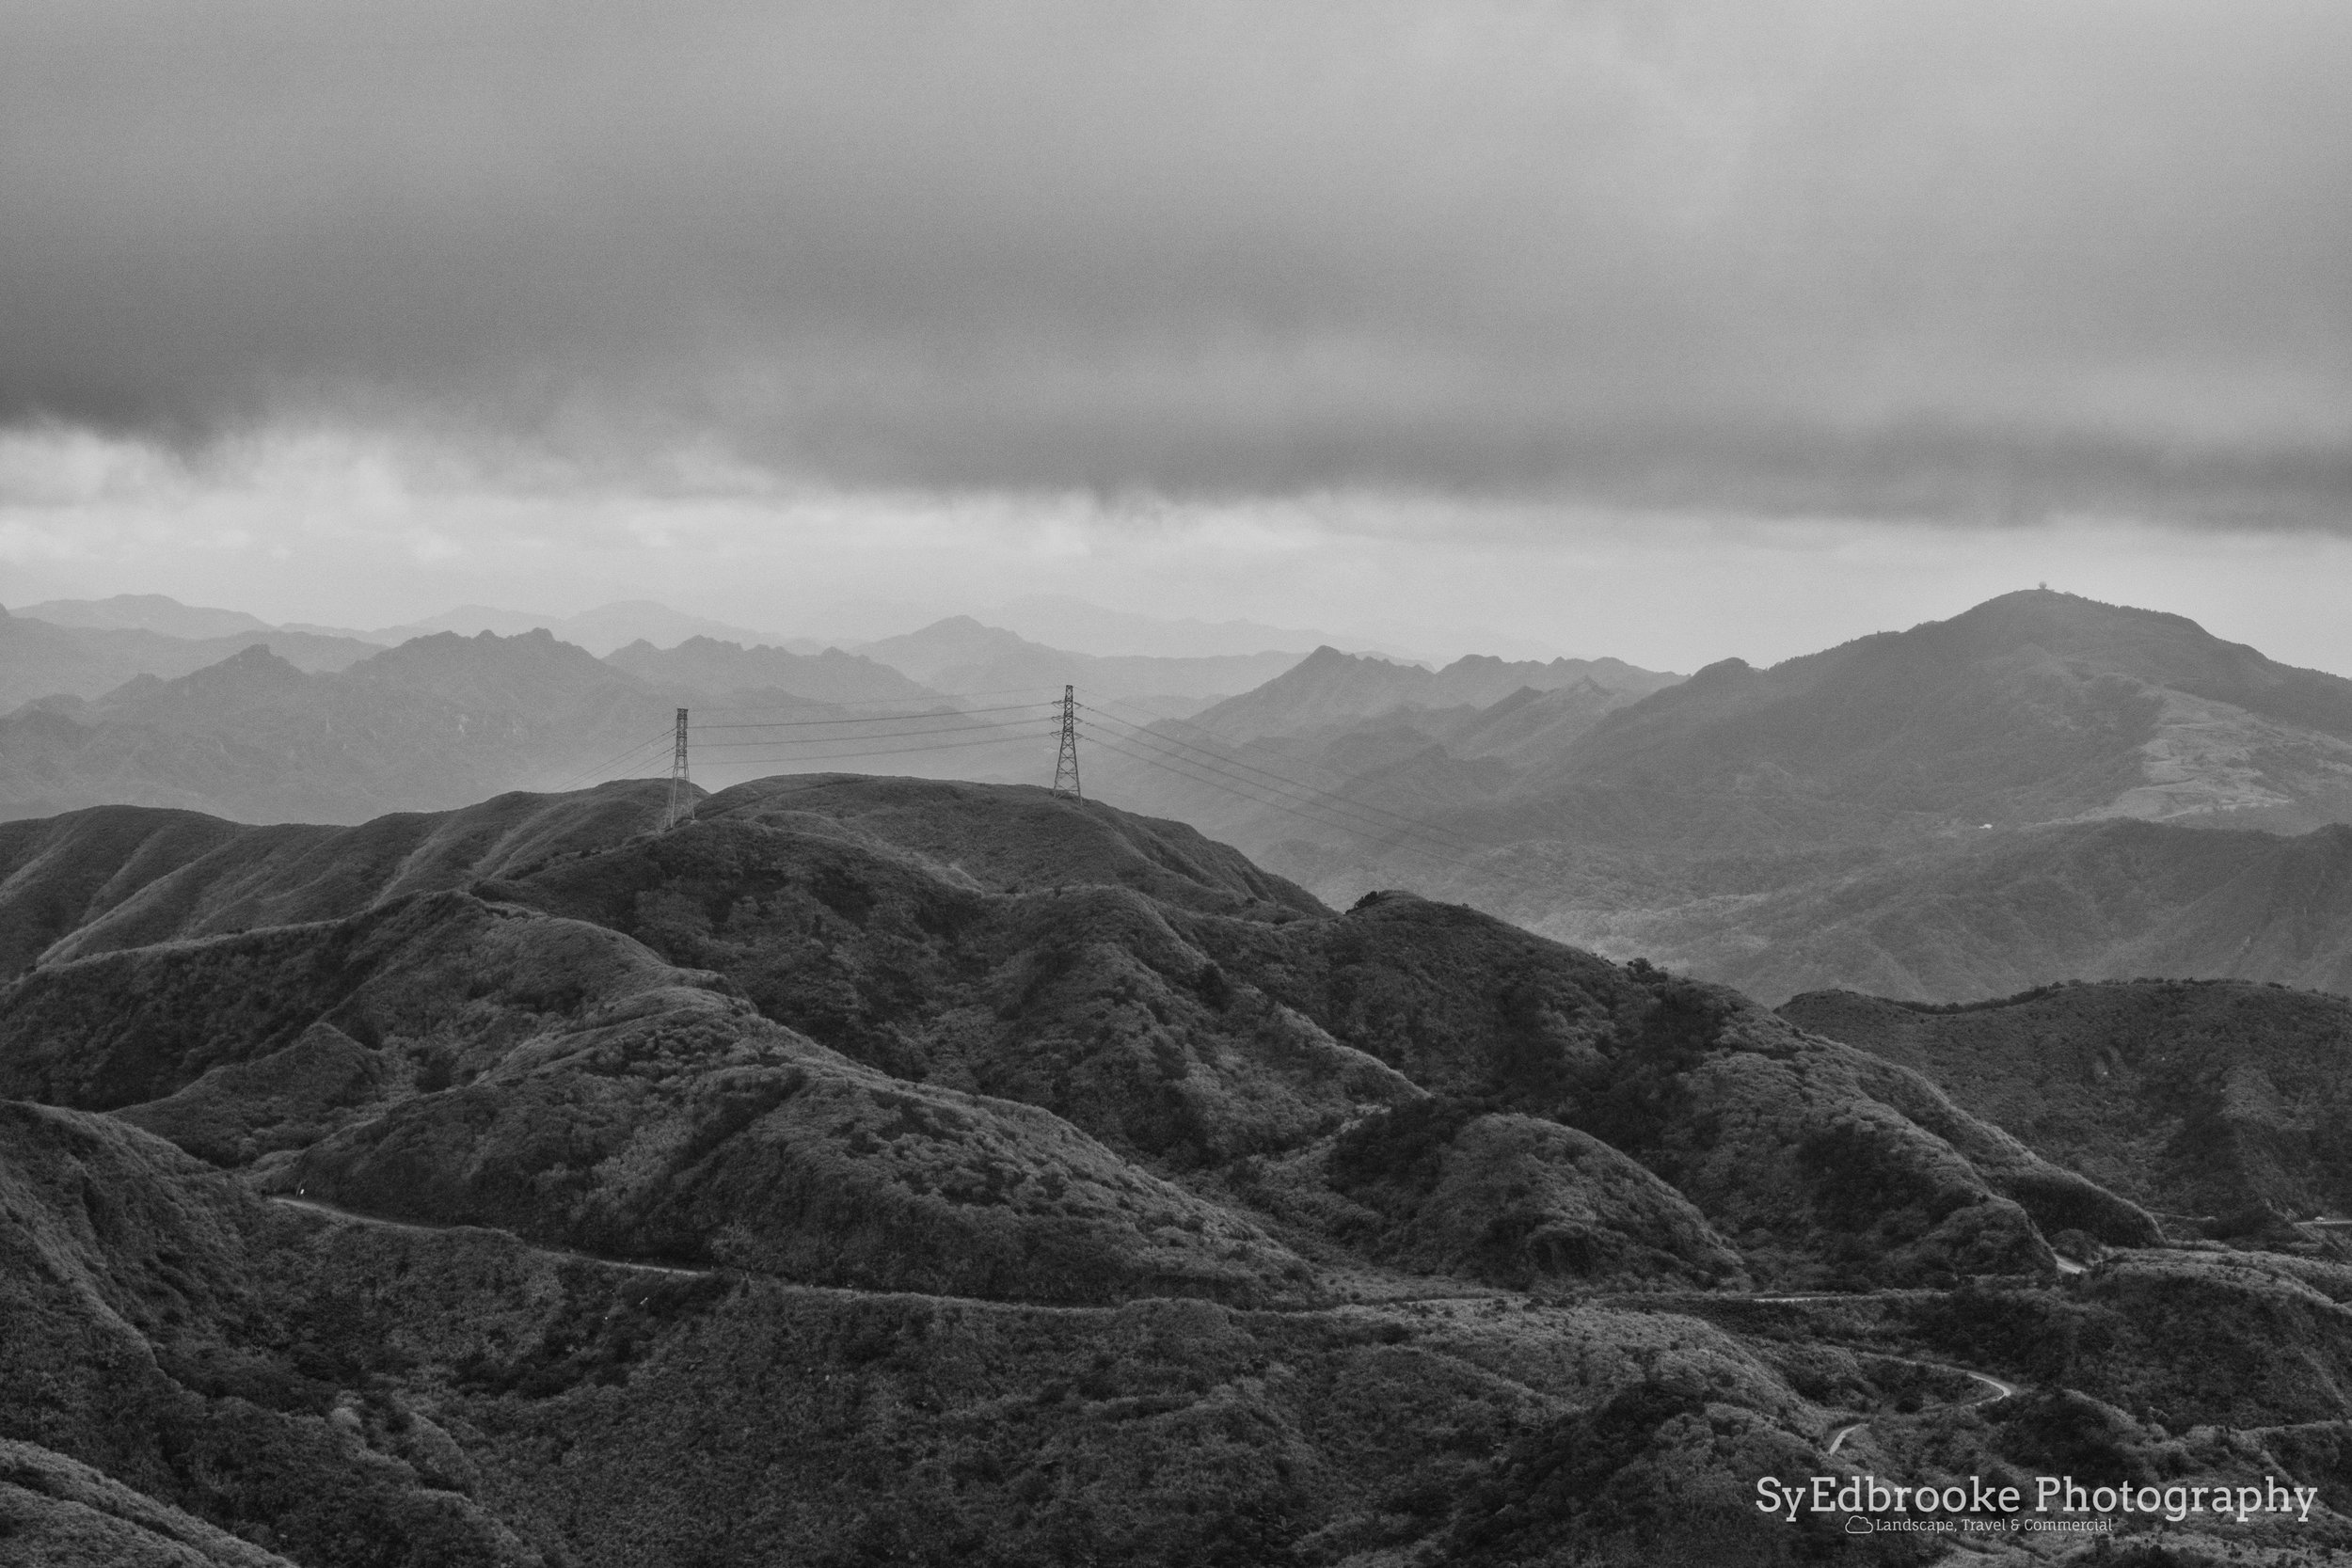
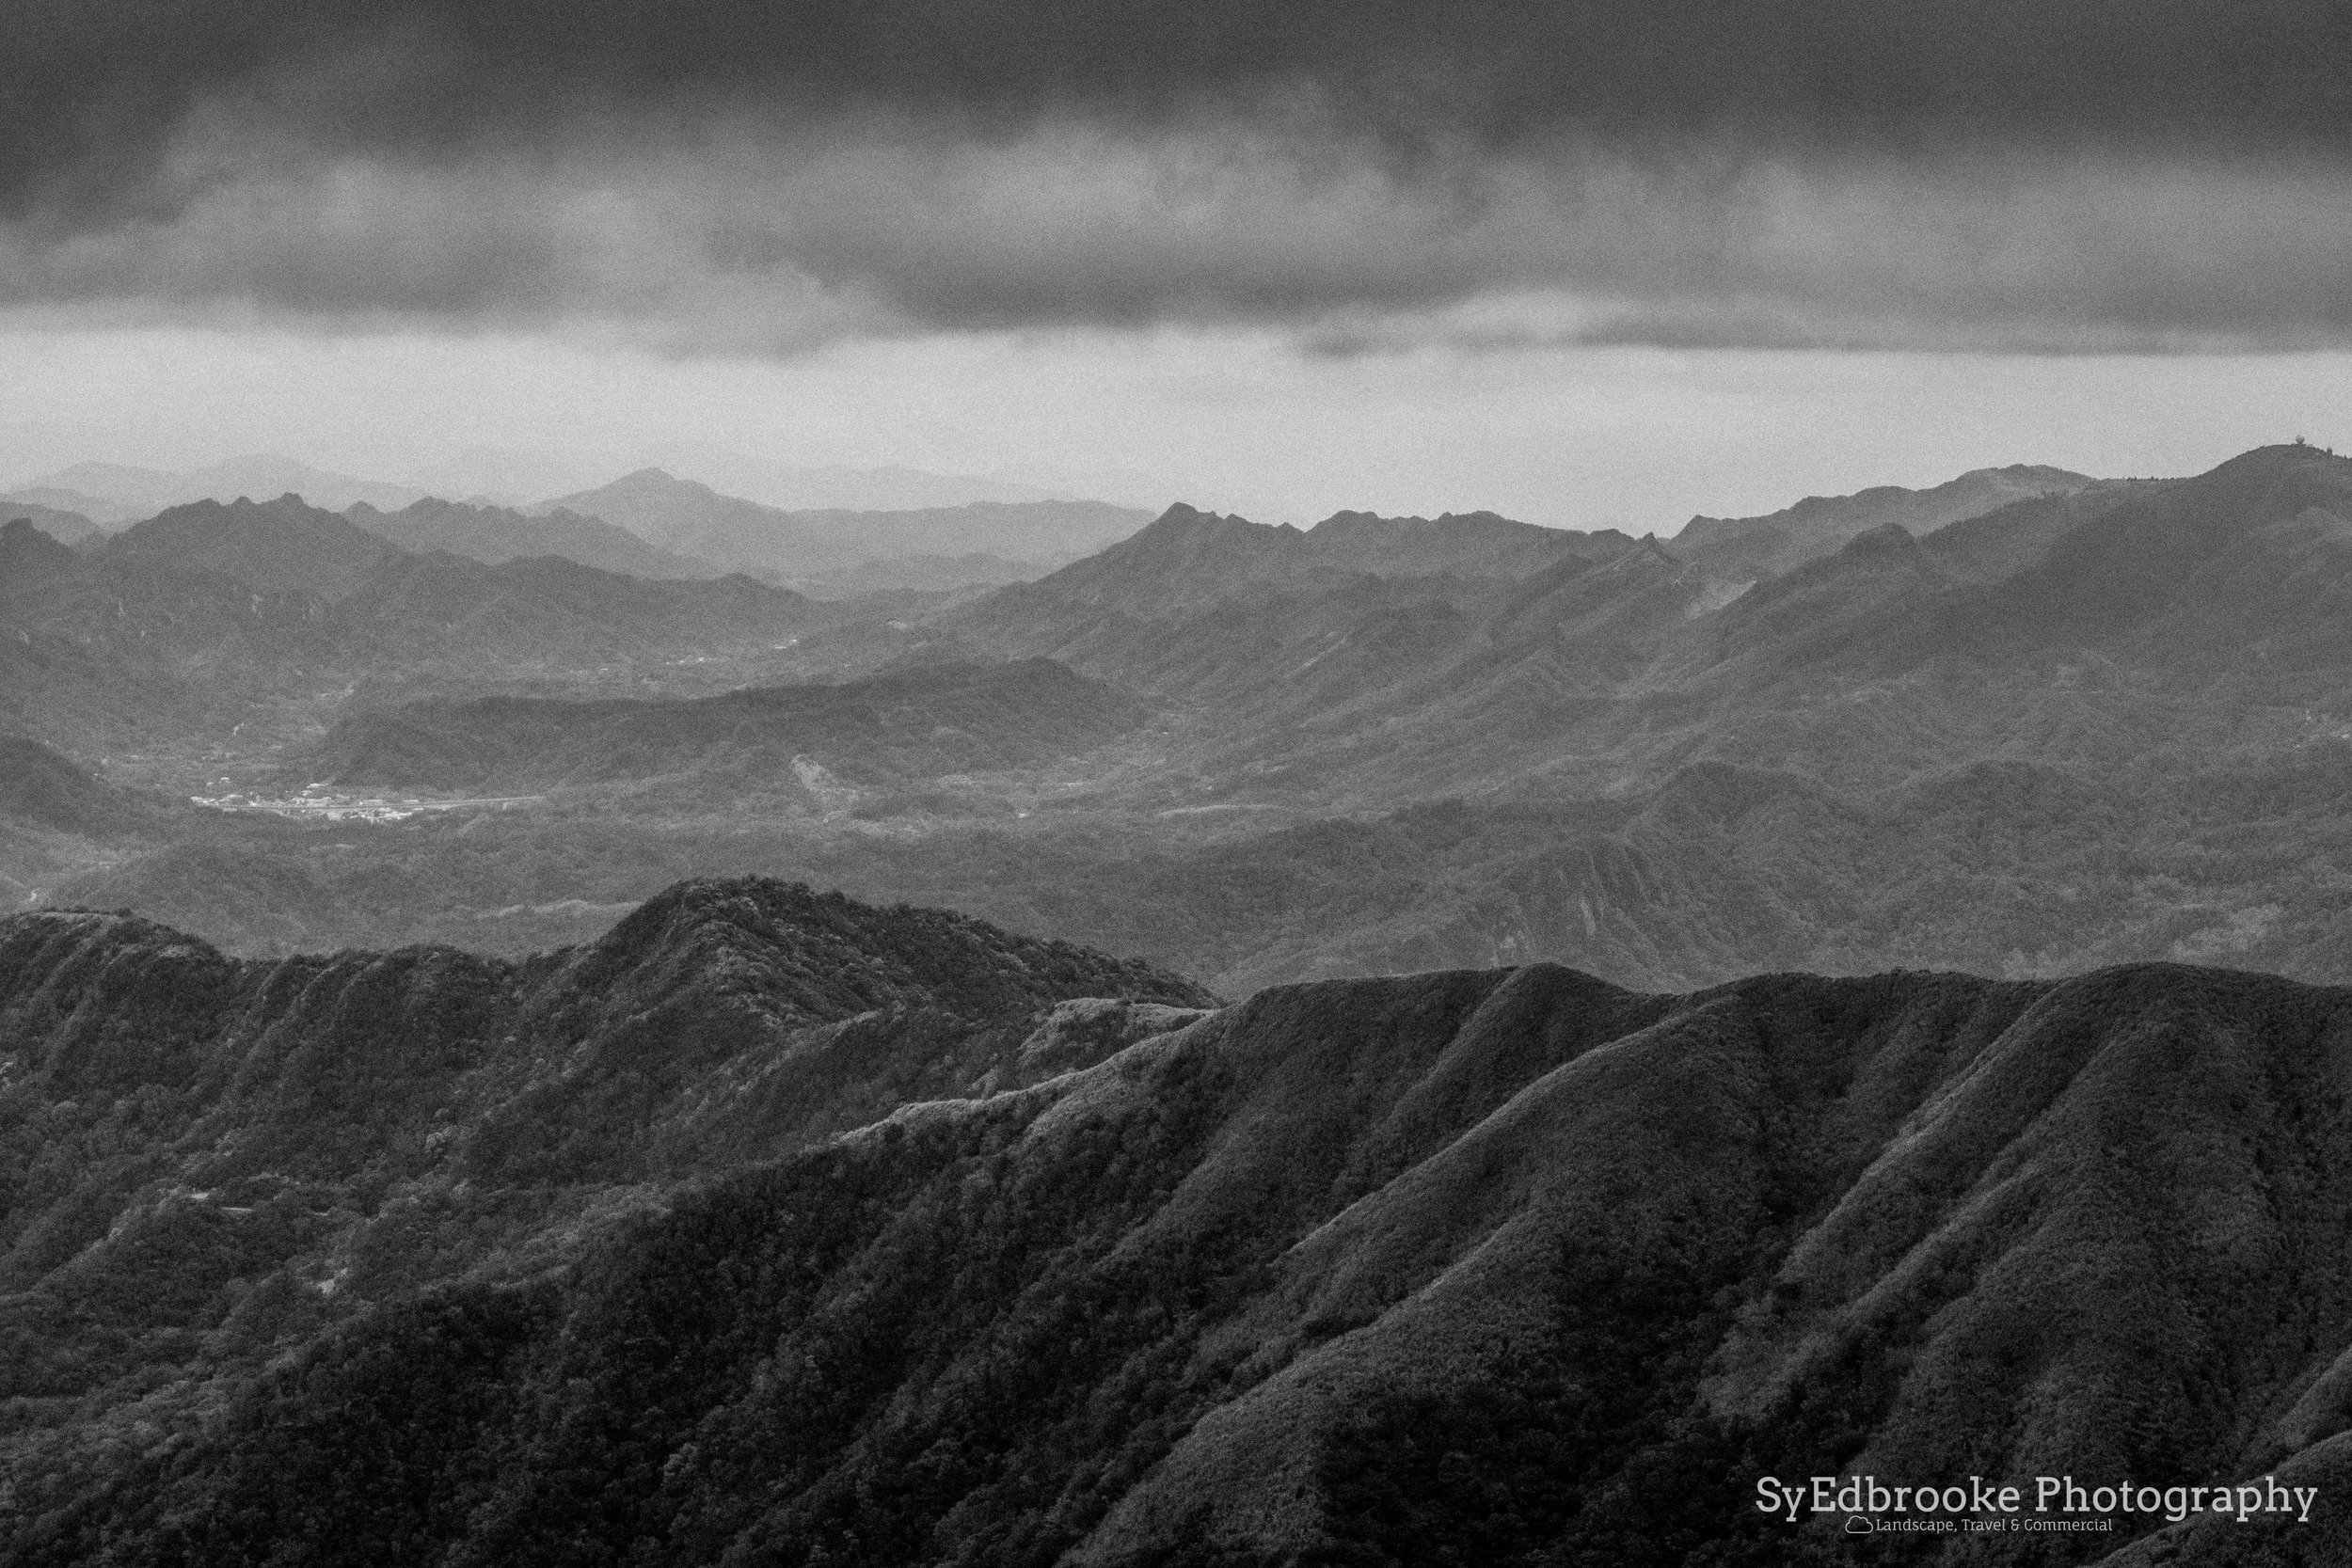
The path is pretty much fully overgrown and it seemed like there hadn't been many other hikers there in a long time, it's worth going slow and watching your footing as it is very muddy and full of loose rocks etc. After a 30min hike you'll get to the Summit of Mt. Canguanliao which again offers very pleasing 360 views of the surrounding area. There are some especially nice far reaching mountain views ranging all the way to Pingxi that make nice black and white photos!

The trail towards Mt. Canguangliao on the ridge. f11, ISO 200, 1/100, 24mm

A local map of the route to Mt. Canguangliao
The way down from the Summit is a tad tricky, its very slippery and overgrown. That said it isn't impossible and its quite quite and peaceful in that area of the mountain. The route leads through the gold mine ecological park which has some interesting views and layered landscape photos. It eventually leads you back to Caoshan Defense Road, which in turn has sign posts for the gold museum and the start of the hike.
There is a pleasant path leading down through the mine and back the bus stop. It can be easy to get lost in this part as there are quite a few different directions the path goes, but if you follow the sign posting to the museum you should be just fine!

The gold mine. looking towards Pingxi. f11, ISO 200, 1/80, 24mm

A silhouette of the Teapot Summit on the route back the the start.

The valley and town below Teapot mountain. You can see the start / end of the trail to the left where the half build construction is. f11, ISO 100, 1/20, 40mm

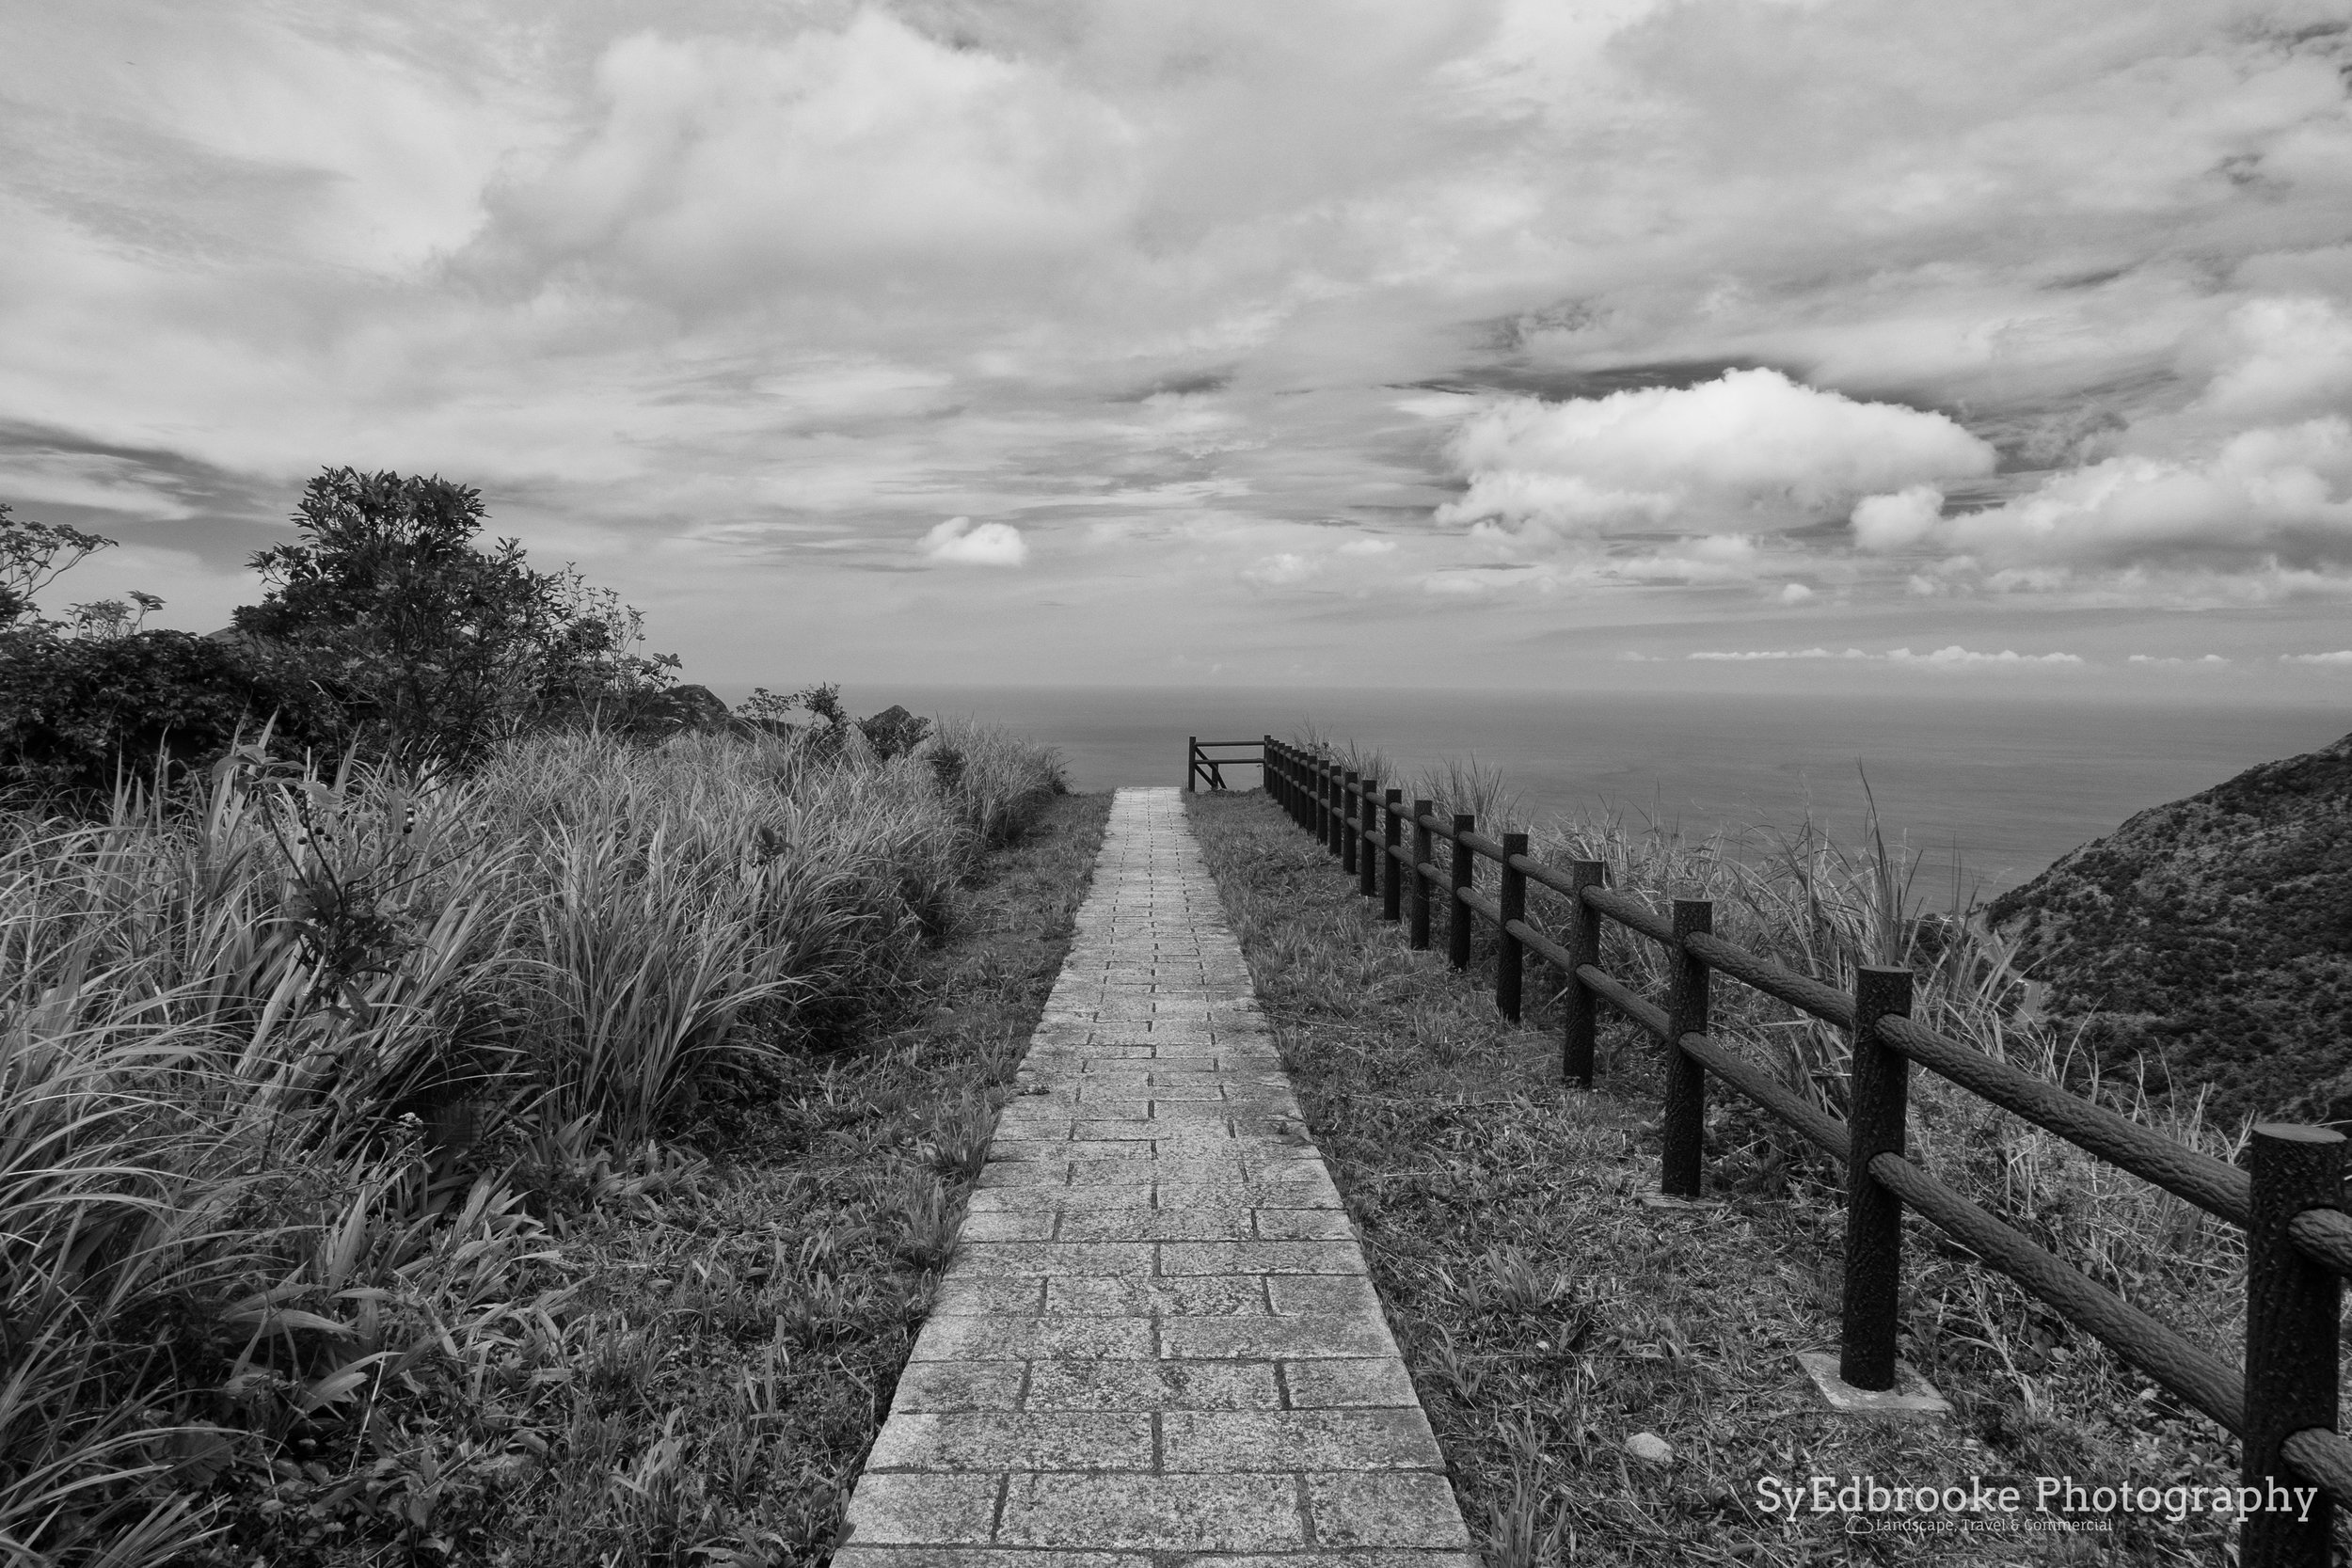
The end of the trail! (it isn't a time portal! promise ^^ . f11, ISO 320, 1/60, 38mm
All in all I highly recommend this hike for any photographers or hiking enthusiasts! It has fantastic views at every summit and is cool even in summer (comparatively). The route I laid out took me around 4 to 5 hours but you can shorten it at either Teapot, or the end of the ridge behind it. It is a fairly steep hike, and features lots of steps up and down with some rope sections so be aware of that before you trek off the beaten path!
The bus back to taipei is the same number to get there and back (1062) and you can catch it from where you hopped off which is nice! The only issue can be traffic on the way back, but if you have lots of photos as I did that will keep the boredom away! It's a beautiful spot and one I highly recommend! Be sure to check back for more hiking guides for northern Taiwan and beyond coming soon!
Sy Edbrooke